STEM連繫 2.1STEM connection 2.1製作簡單的淨水器Making a simple water purifier
學習技能:Learning skill:
立體打印3d printing
DIYDIY
難度﹕Difficulty:
★
時間﹕Time:
1 節課1 lesson
物料Materials
步驟Procedures
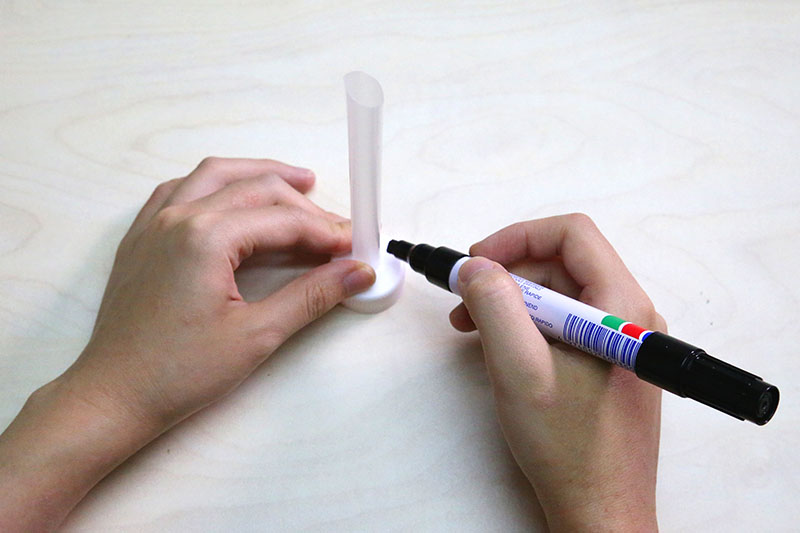
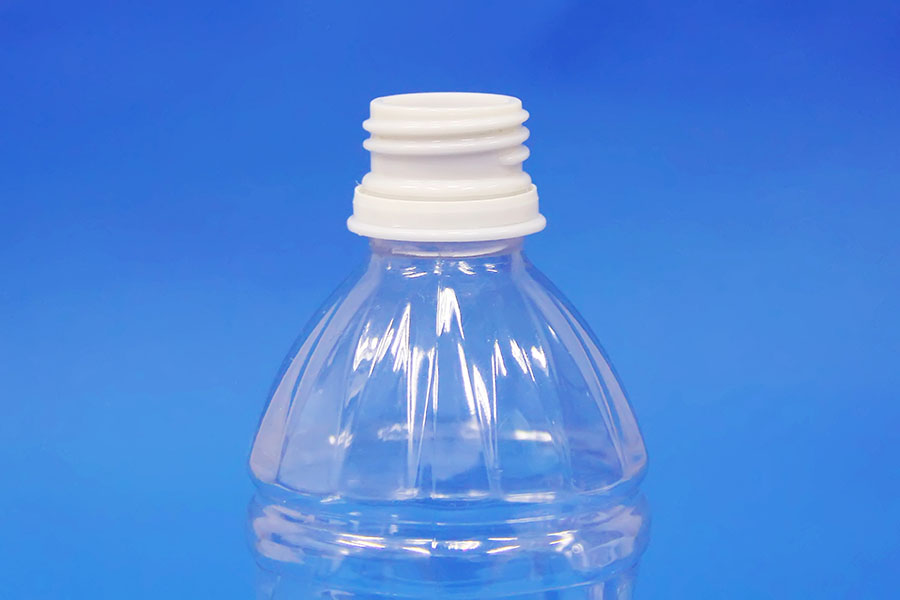
1. 把飲管放在樽蓋上,依飲管的圓周在樽蓋上畫出一個圓形。
1. Place a drinking straw on a bottle cap and draw a circle along the circumference of the straw.
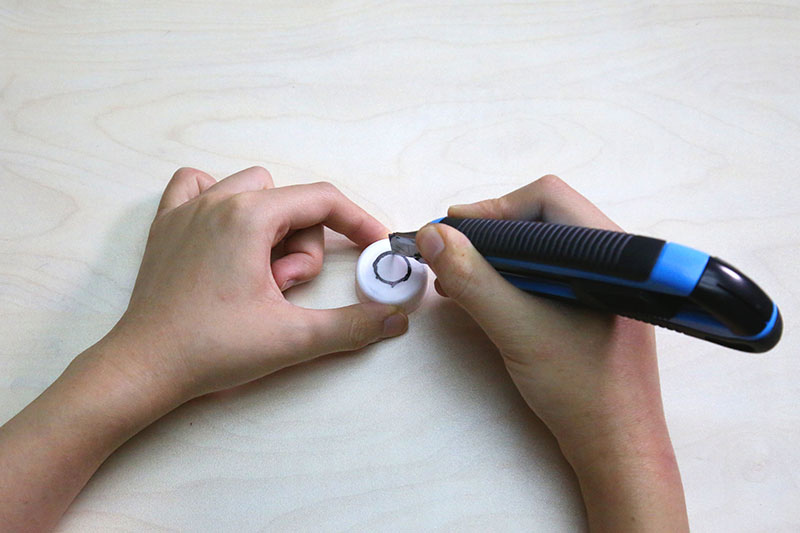
2. 使用鎅刀裁走樽蓋上的圓形。用另一個樽蓋重複步驟,裁出另一個圓形。
2. Cut off the circle by using a cutter. Repeat the steps to cut a circle on another cap.
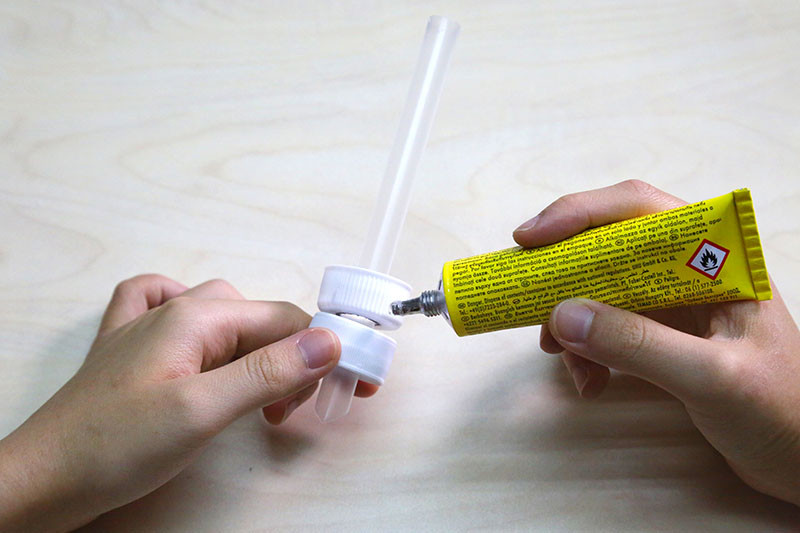
3. 把兩個樽蓋「面對面」放在一起,然後把飲管穿過中間的洞,再用膠水將樽蓋及飲管牢牢黏着。
3. Put the two caps together and insert the straw into them. Stick the caps and the straw with glue.
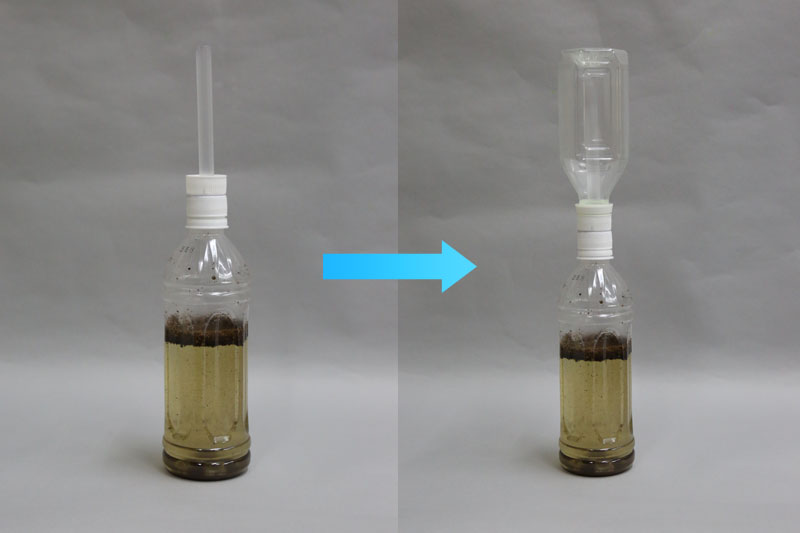
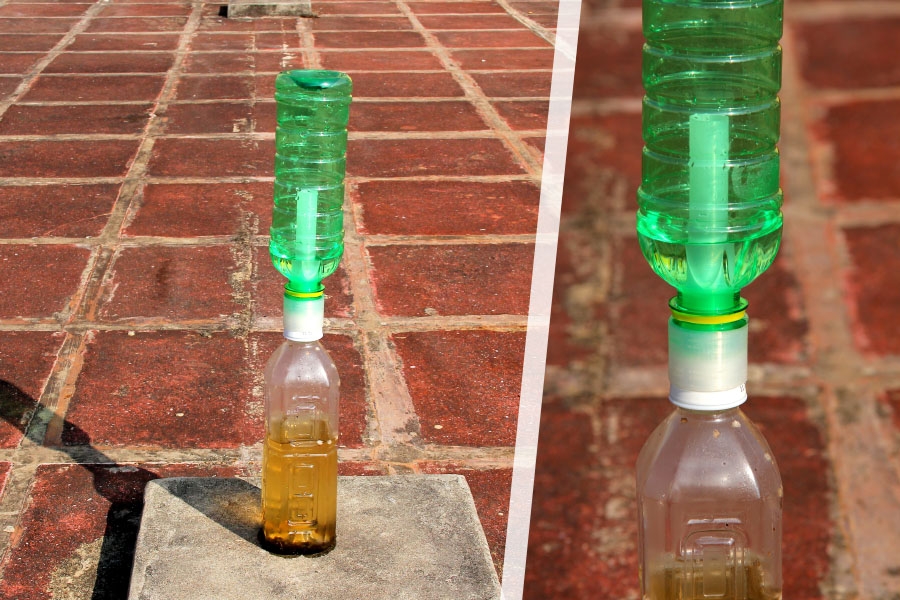
4. 把一些污水加進其中一個膠樽,然後把另一個空的膠樽倒轉並套上樽蓋。
4. Add some muddy water to a bottle. Put another bottle upside-down and screw it with the cap.
如何使用
How to use
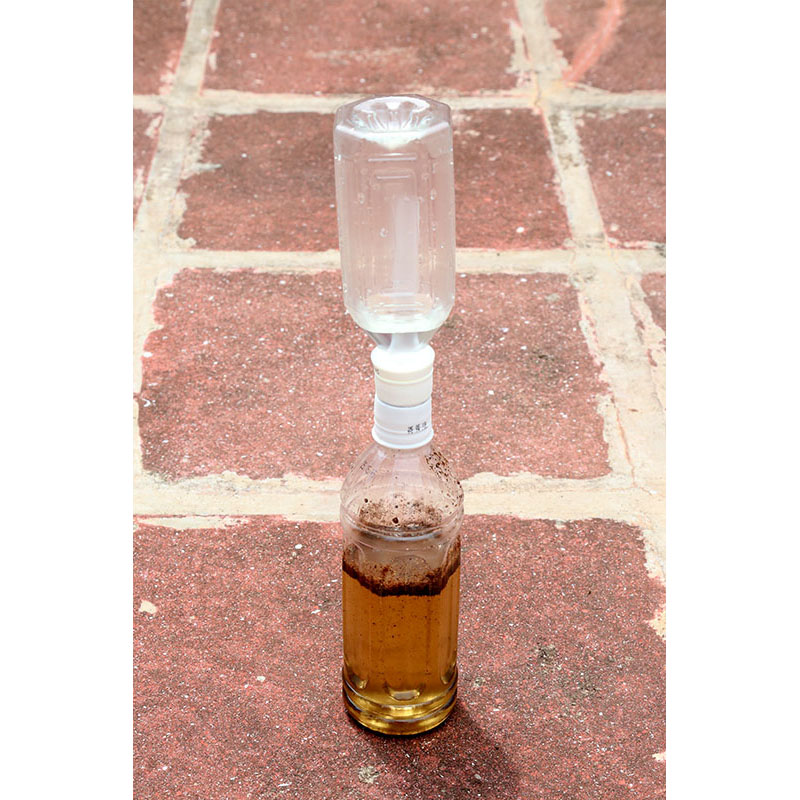 把淨水器放到太陽下Put the water purifier under the Sun
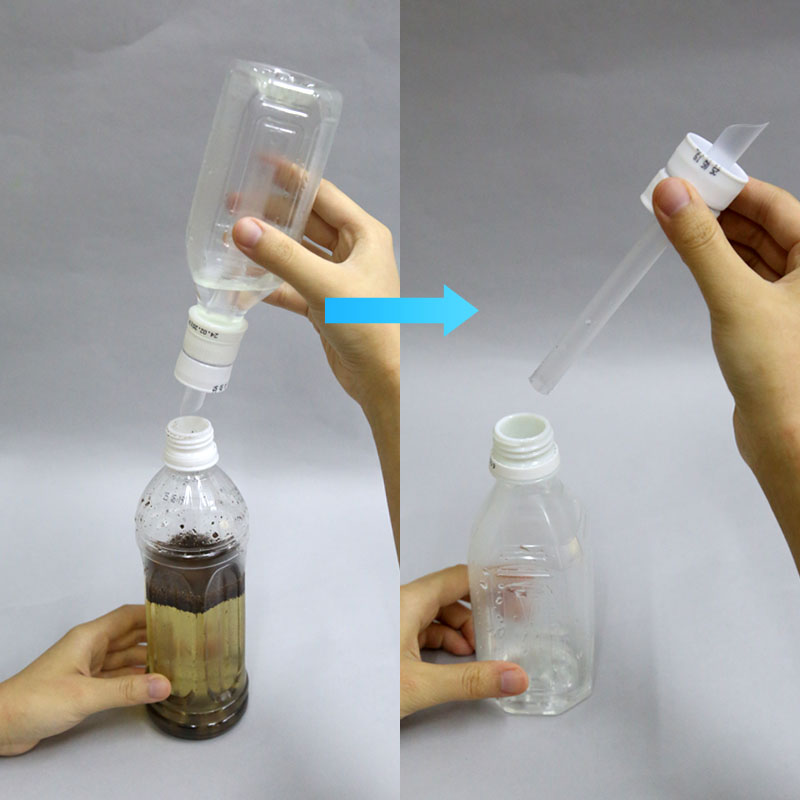 數小時後,移走上方的膠樽並扭開樽蓋。
你可得到潔淨的水!After several hours, remove the upper bottle.
You have already obtained some clean water!
試想想Think about
1.
What is the working principle of the water purifier?
2.
Suggest how you can improve the design of the water purifier.
附加資源Further resources
3D 打印3D printing
如果學校有3D打印機,你可以在我們的網站下載可供3D打印的模型。
If 3D printers are available at your school, you can download free models for 3D printing from our website.
使用方法
How to use
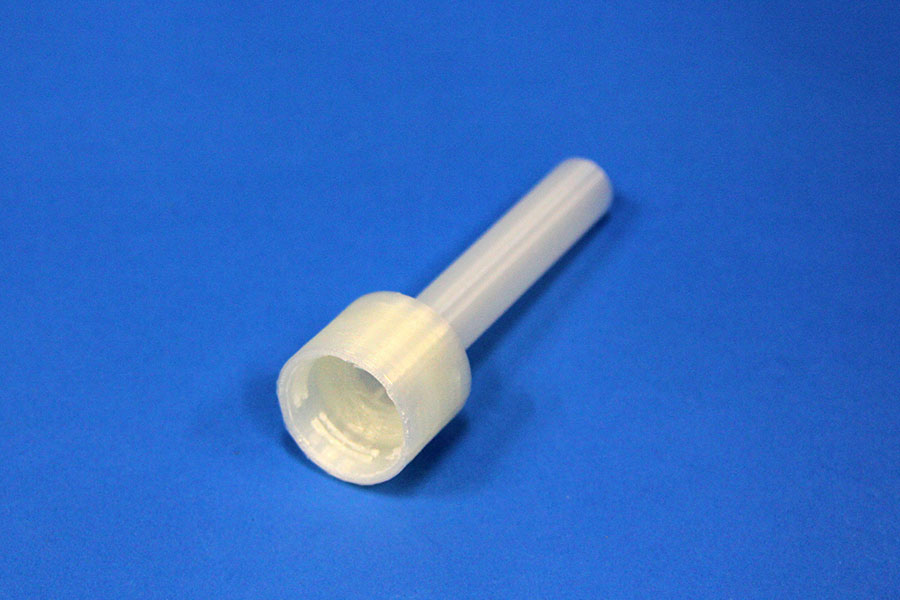
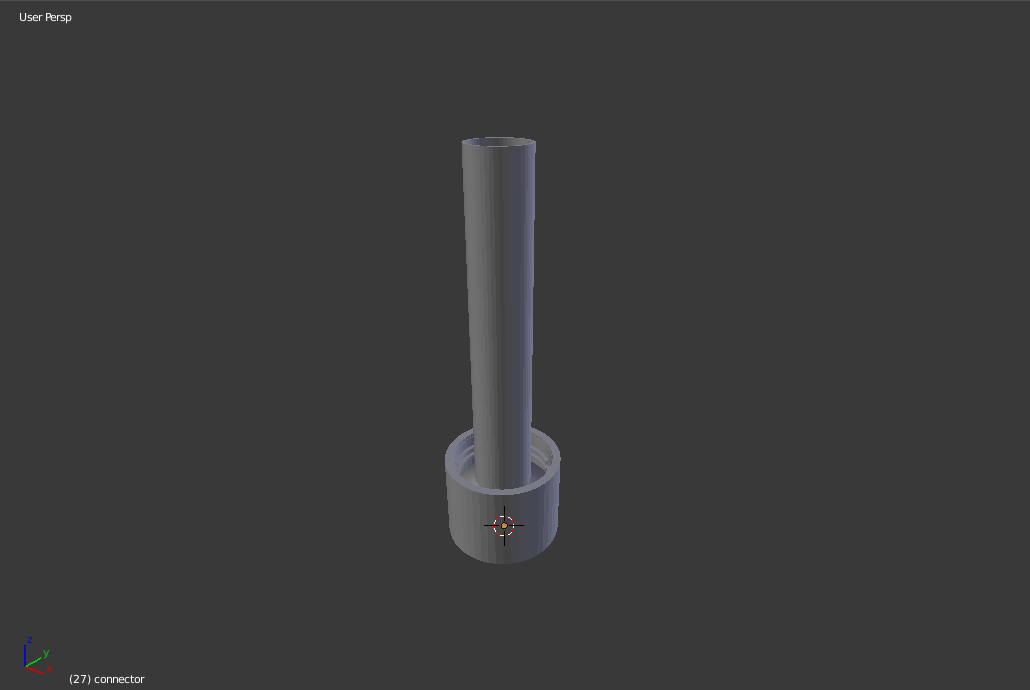
立體打印的模型
3D-printed model
適用的樽蓋紐紋
Pattern of the cap
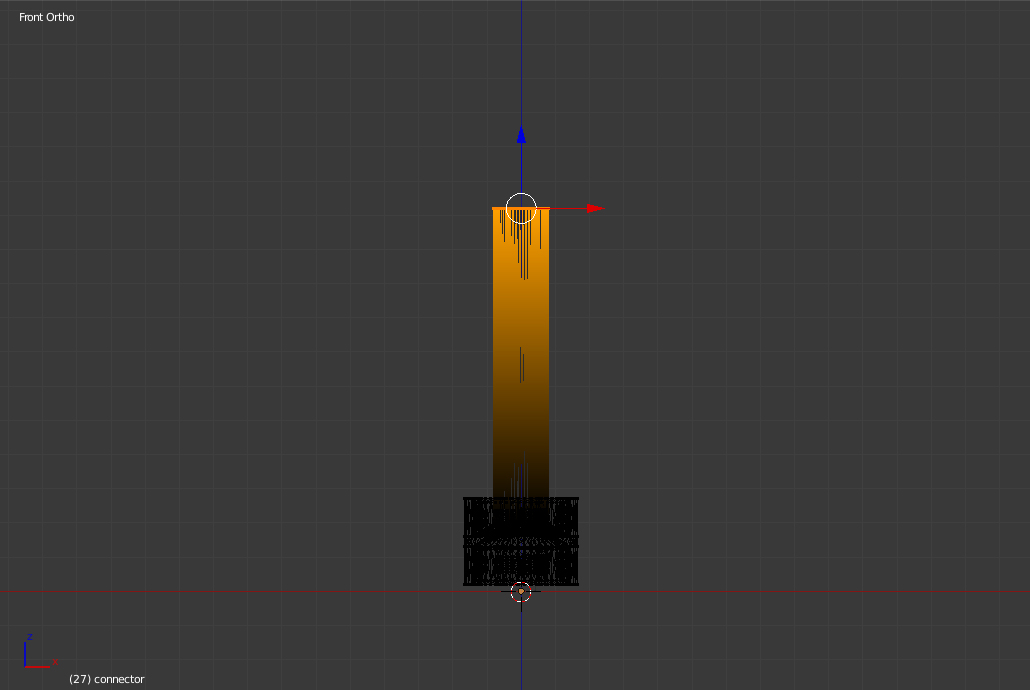
如你已學會基本的3D繪圖技能,你也可使用一些3D製圖軟件(例如
Blender),嘗試更改模型設計,以提高淨水器的效能,例如提高中間通管的長度以增加淨水的儲存量。
If you are familiar with 3D graphic tools (e.g.
Blender), you can also design your own 3D-printed water purifier.
在Blender載入模型檔案
Import the downloaded model.
(File > Import > Stl)
選擇中間的通管形狀
Select the 'pipe' shape in the centre.
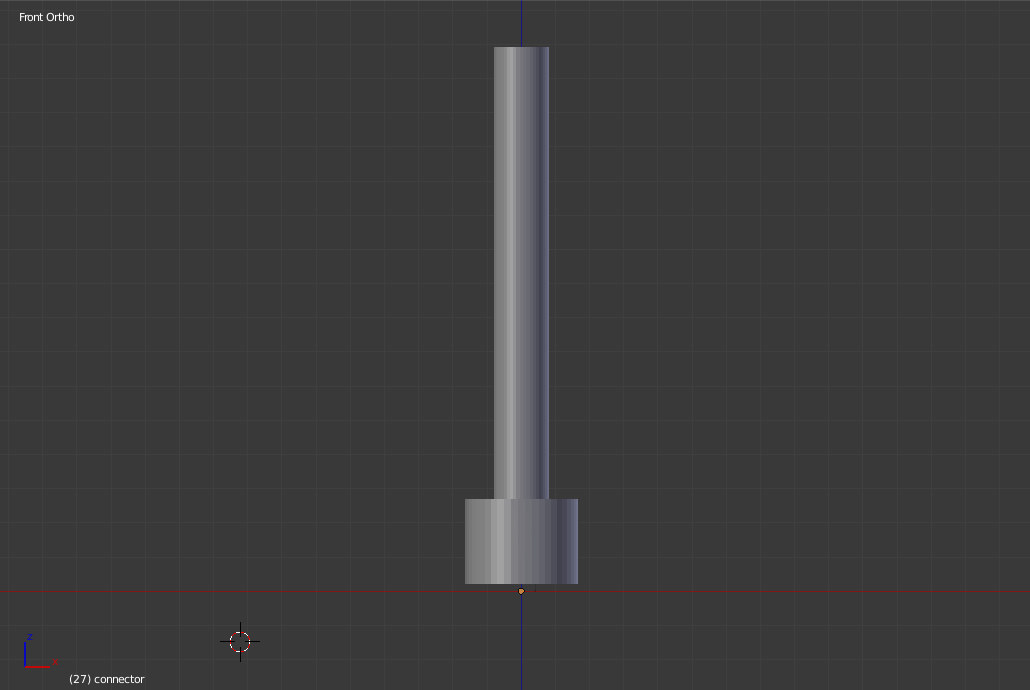
修改通管長度並列印出來
Revise the length of the pipe and print it out.
注意:這模型僅作打印示範,由於立體打印機所使用的塑料未必適合作盛水器,請勿直接飲用由這模型淨化出來的水。有關使用方法,你也可參考本活動的支援網頁。
This model is used for demonstration only. The materials used for making the water purifier may not be suitable for drinking. Do NOT drink any water purified by the model.