-
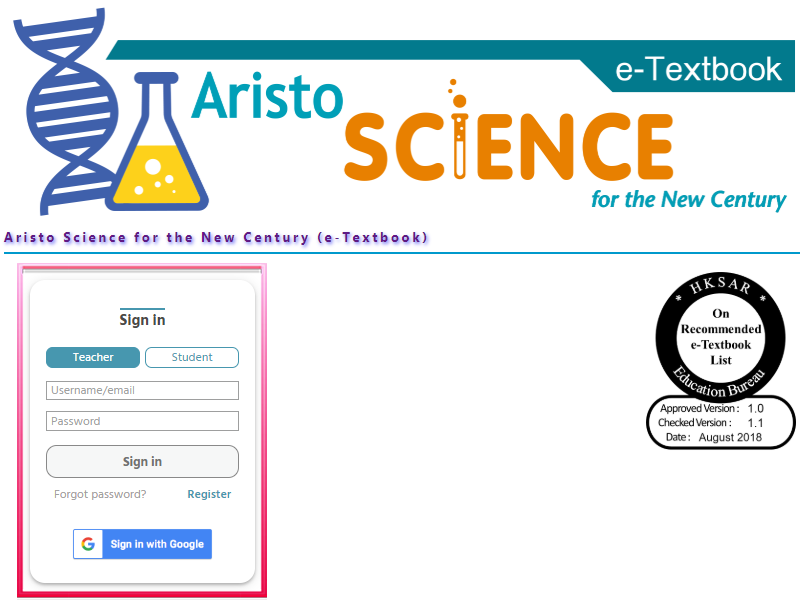
1. 登入 1. Signing in
-
2. 筆記及繪圖功能 2. Notes saving and drawing function
-
3. 互動練習 3. e-Quiz
-
4. 系統訊息及解決方案 4. Troubleshooting
-
5. 於 iPad 中儲存登入資料 5. Storing sign-in information on iPad
1.1
1.2

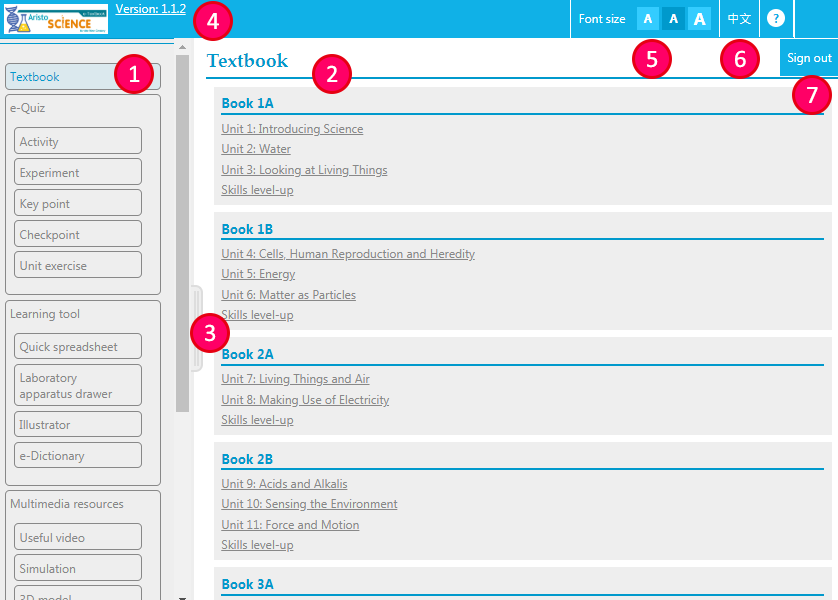
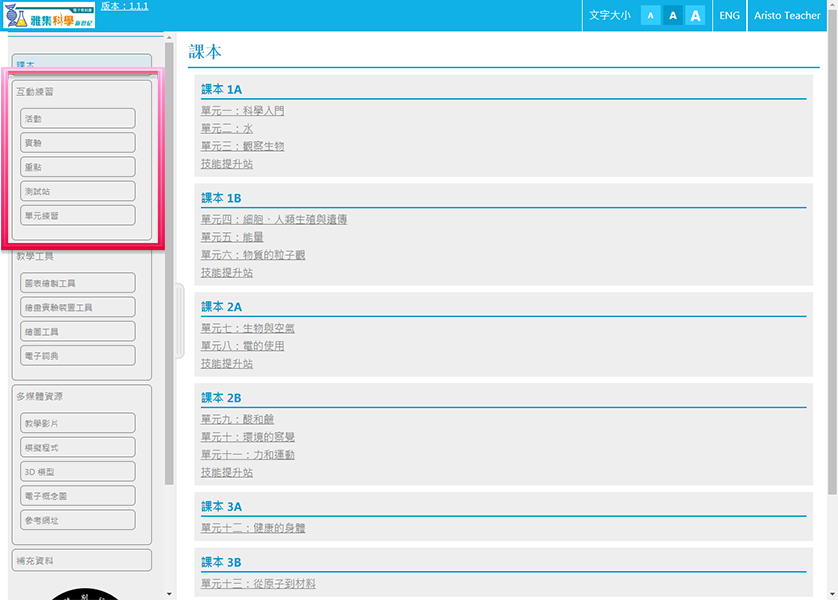
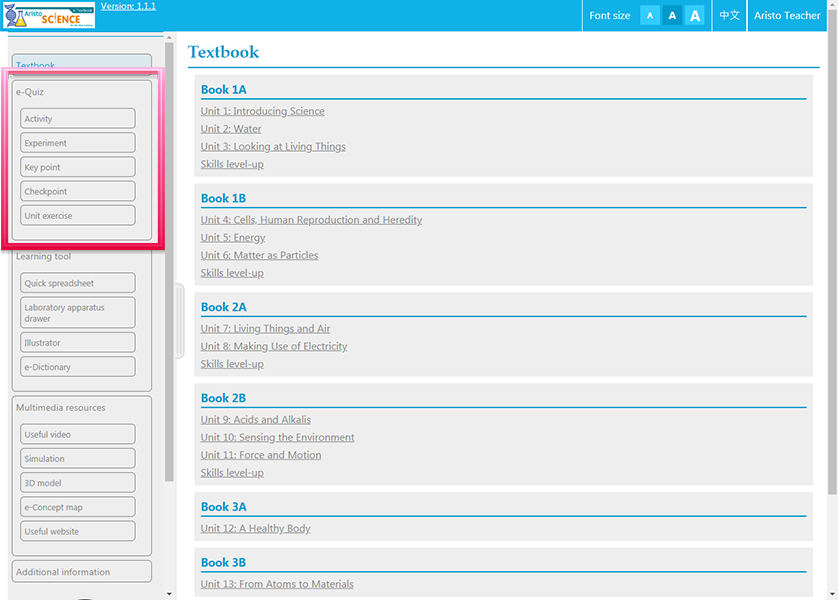
| 1 | 選擇課本、互動練習或其他資源 Select textbooks, e-Quiz exercises or other resources |
| 2 | 選擇單元 Select an unit |
| 3 | 按此隱藏左方選單,方便閱覽課本內容 Hide the left menu for easy viewing |
| 4 | 查閱版本資訊 Check the version history |
| 5 | 更改文字大小 Change the font size |
| 6 | 切換中文或英文版(如提供) Switch between Chinese and English version (if available) |
| 7 | 登出 Sign out |
1.3
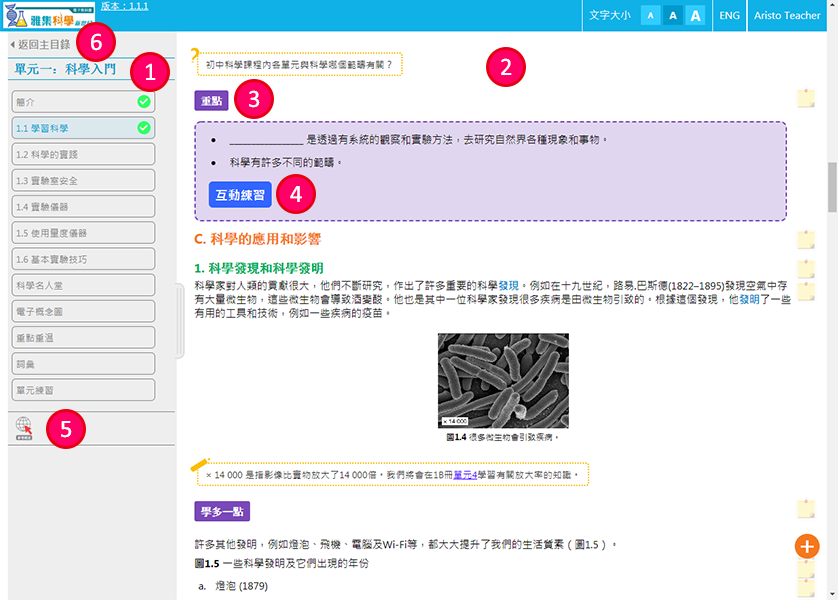
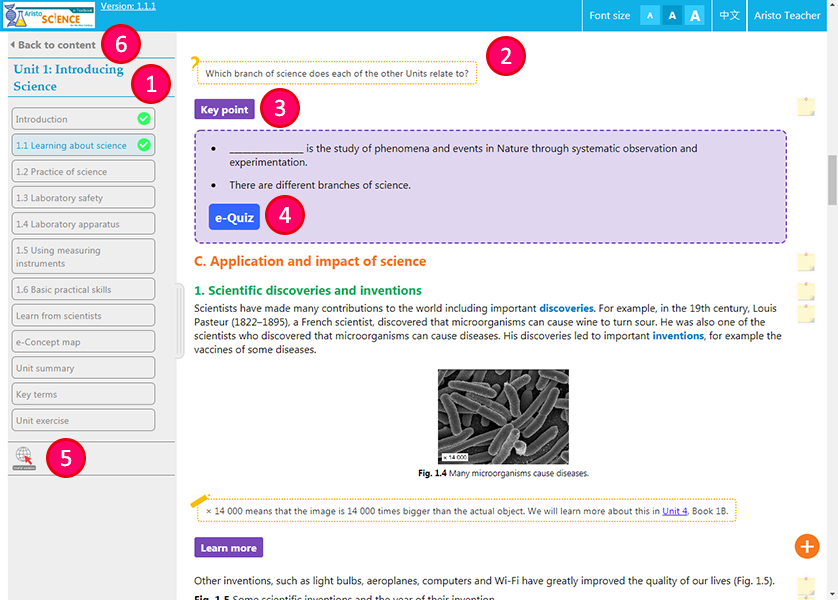
| 1 |
章節選單,如已開啟相關章節,右方會顯示 |
| 2 | 課文內容 Book content |
| 3 | 按此開啟更多內容 Click this button to open more information |
| 4 | 按此開啟相關互動練習 Click this button to start the related e-Quiz exercise |
| 5 | 與本節有關的電子教學資源 The related e-Learning resources in this section |
| 6 | 返回主目錄 Back to content |
1.4
忘記密碼 Recovering a forgotten password
-
教師帳戶
Teacher Account
(i) 教師開啟以下網頁並依指示透過電郵收取密碼: Teachers can open the following page and follow the instructions to receive a password reset email:
-
學生帳戶
Student Account
-
一般帳戶
General Account
(i) 學生開啟以下網頁並依指示透過電郵收取密碼: Students can open the following page and follow the instructions to receive a password reset email:
-
虛擬帳戶(由本社按需要為學校製作)
Dummy Student Account (prepared for schools by Aristo on request)
(i) 教師登入以下網頁: Sign in the following page with the responsible Teacher Account: (ii) 在上方選單點按 重設「虛擬學生帳戶」密碼 可查閱並為學生重設成預設密碼。 Click Reset the “dummy student account” password on the top menu to review and reset the student’s password to default setting.
-
一般帳戶
General Account
1.5
更改密碼 Changing the password
-
教師帳戶
Teacher Account
(i) 教師登入以下網頁: Sign in the following page with your Teacher Account: (ii) 在上方選單點按 更改用戶資料 可更改密碼。 Click Edit account information on the top menu to change the password.
-
學生帳戶
Student Account
(i) 學生登入以下網頁: Sign in the following page with your Student Account: (ii) 在左方選單點按 我的帳戶 > 更改密碼 可更改密碼。 Click My Account > Change password on the left menu to change the password.
2.1
螢光筆效果
Highlighting text

* 每次最多只可為一段文字加上螢光筆效果 * Only one paragraph can be highlighted at a time.

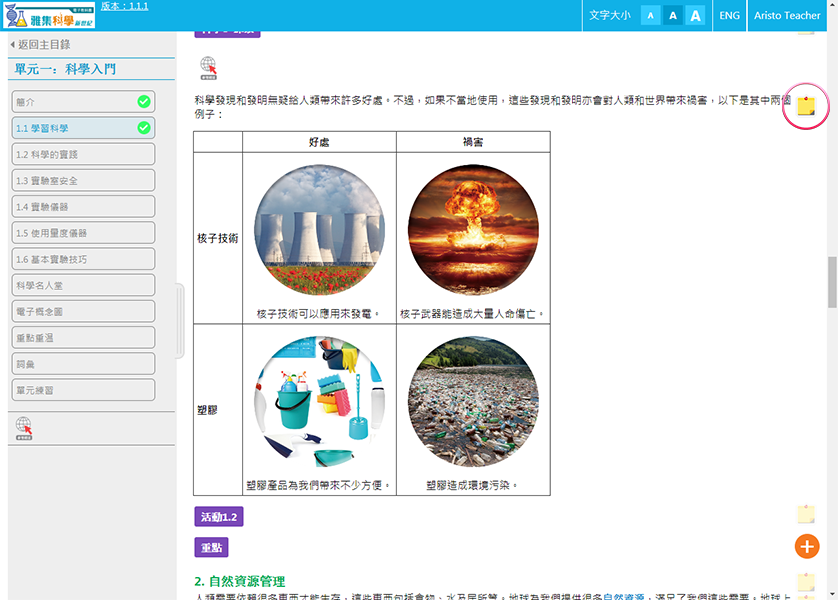
2.2
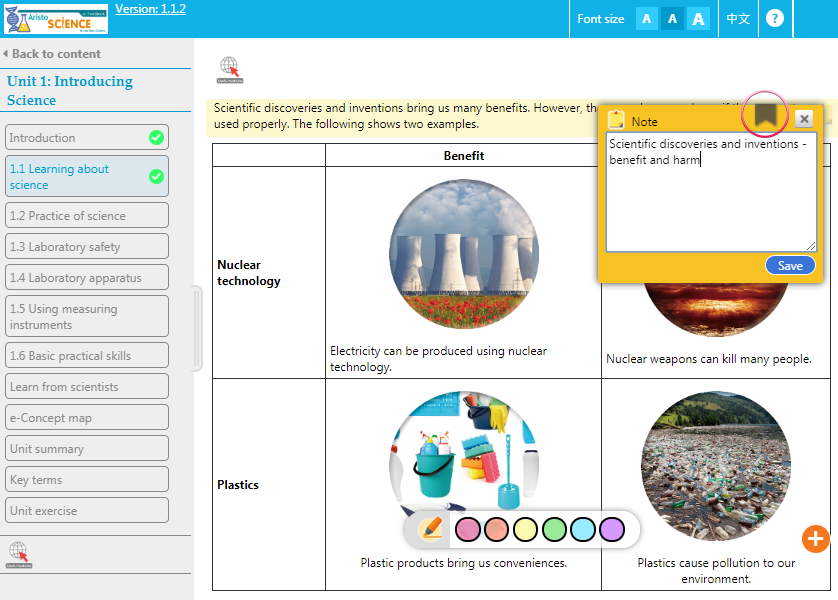
筆記功能
Adding notes


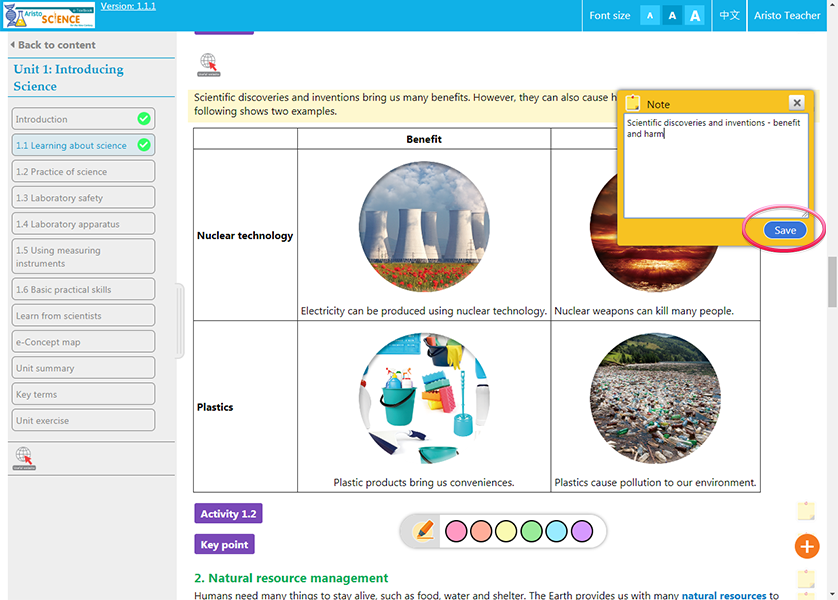

2.3
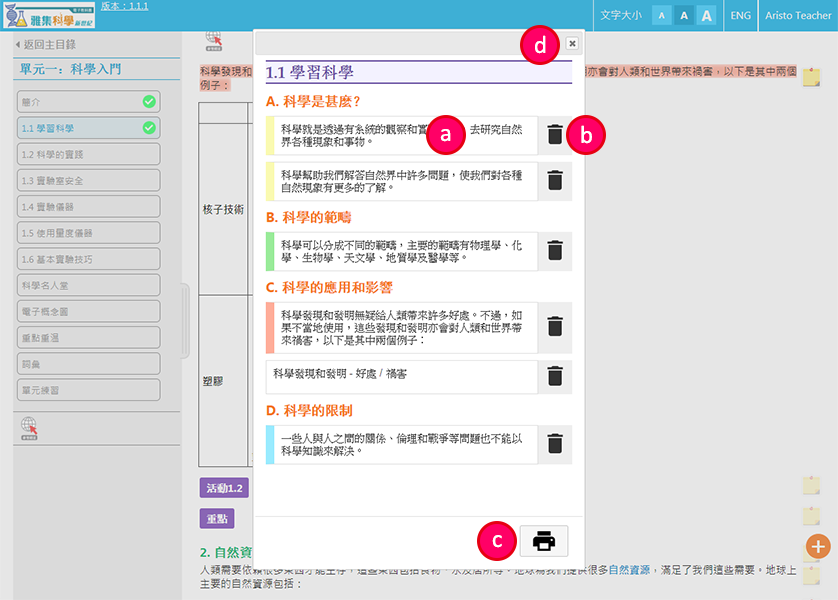
儲存或列印筆記
Saving or printing notes

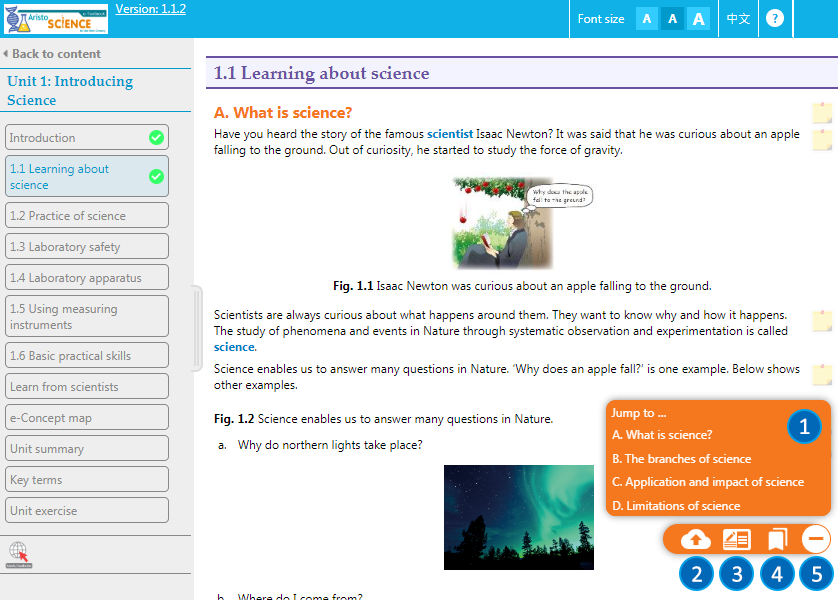
| 1 | 跳至本節各段 Jump to different parts in this section | ||||||||
| 2 | 儲存筆記到雅集雲端硬碟 Save the notes on Aristo Cloud | ||||||||
| (注意:離開網頁前,緊記先點擊此按鈕儲存本節筆記,否則系統將不會記錄。) (Note: Before leaving the page, please be reminded to press this button to save all your notes marked on this section, otherwise the system will not keep any record.) | |||||||||
| 3 |
顯示本節所有筆記
Show all notes marked on this section

|
||||||||
| 4 | 顯示本節所有書籤 Show all bookmarks in this section | ||||||||
| 5 | 退出選單 Close menu |
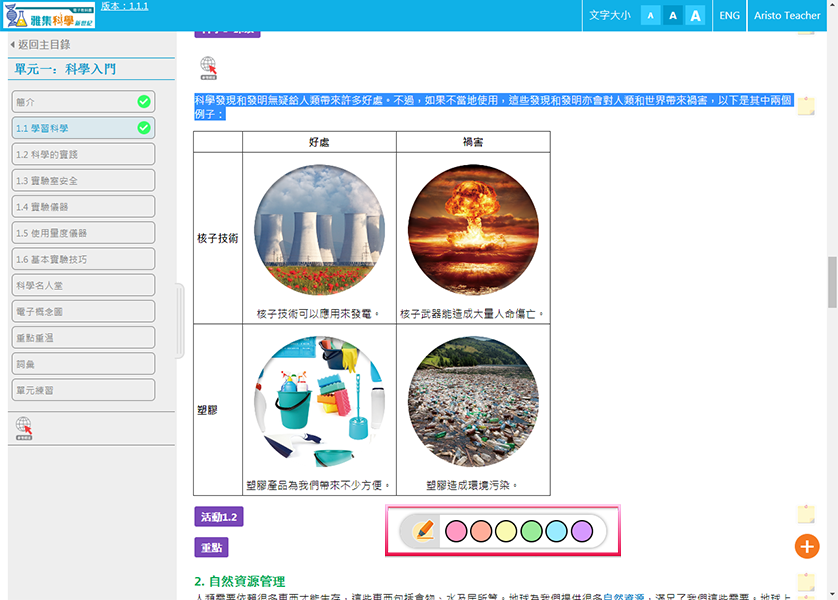
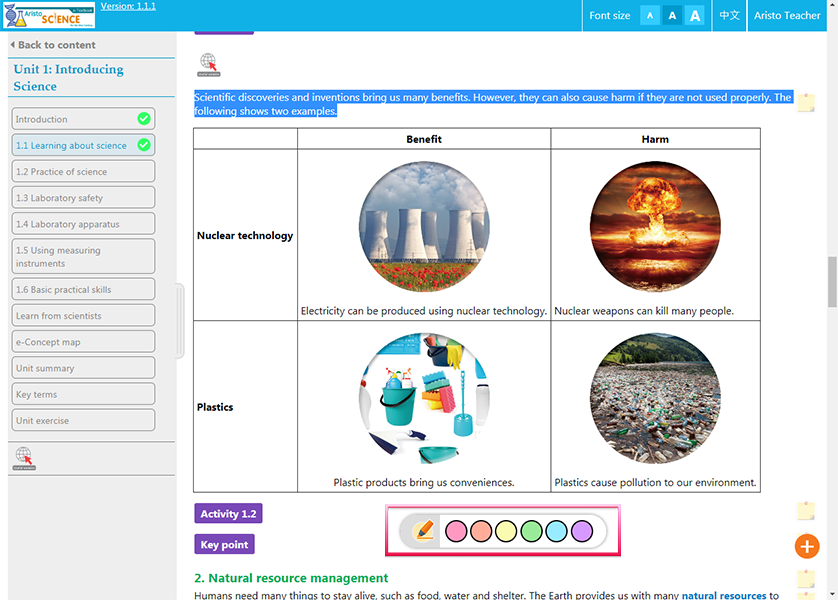
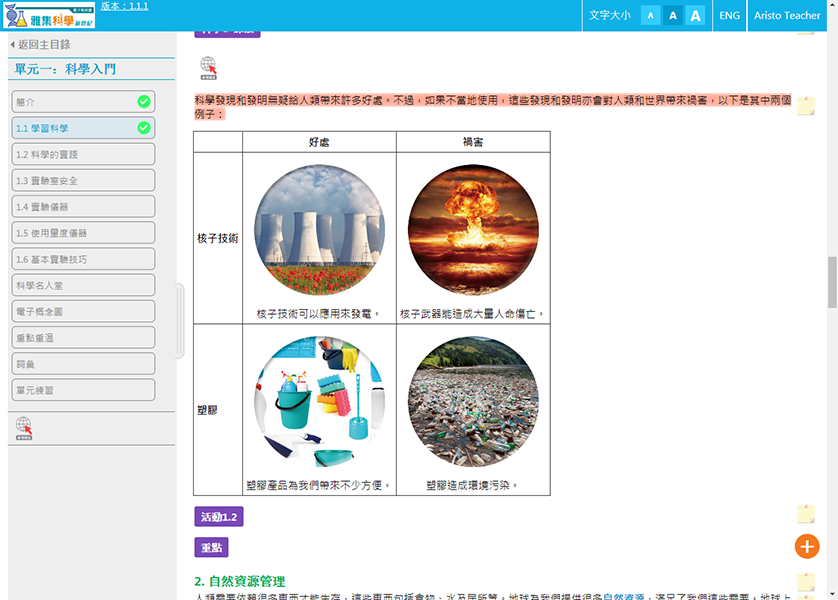
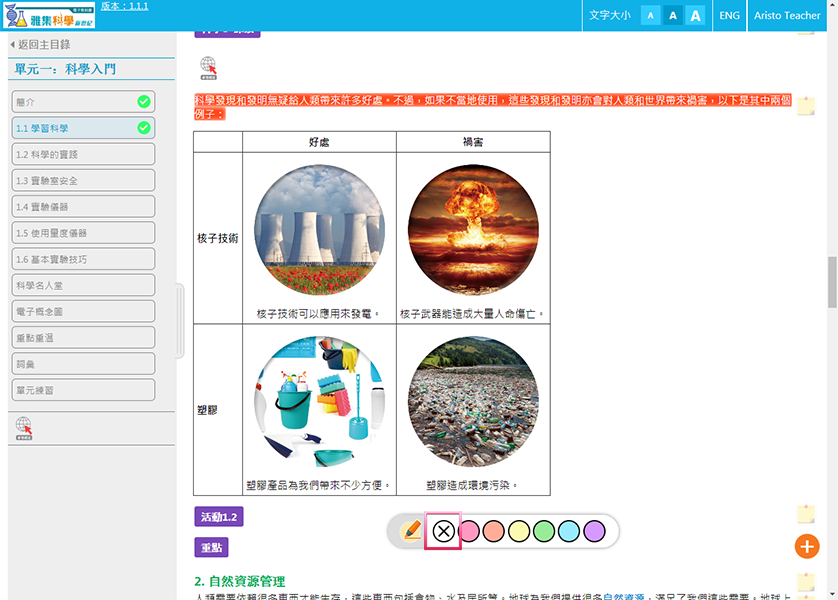
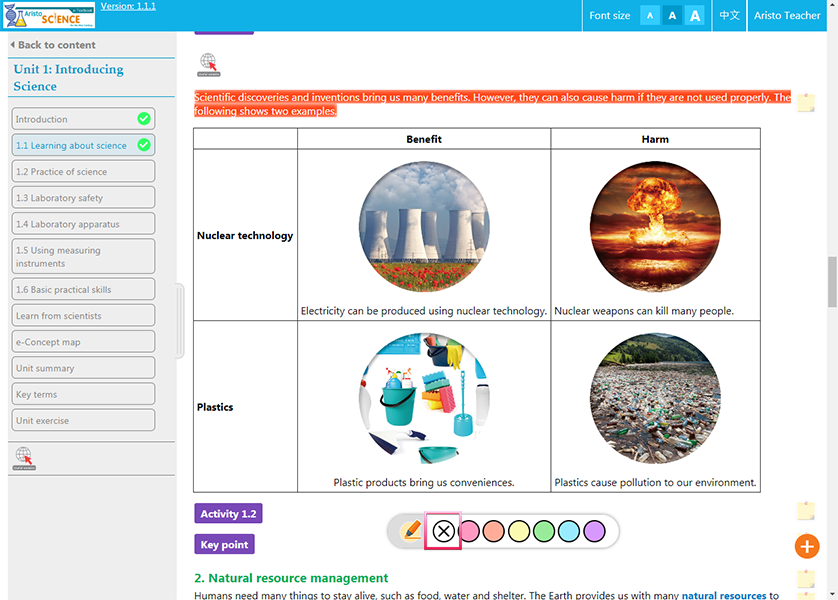
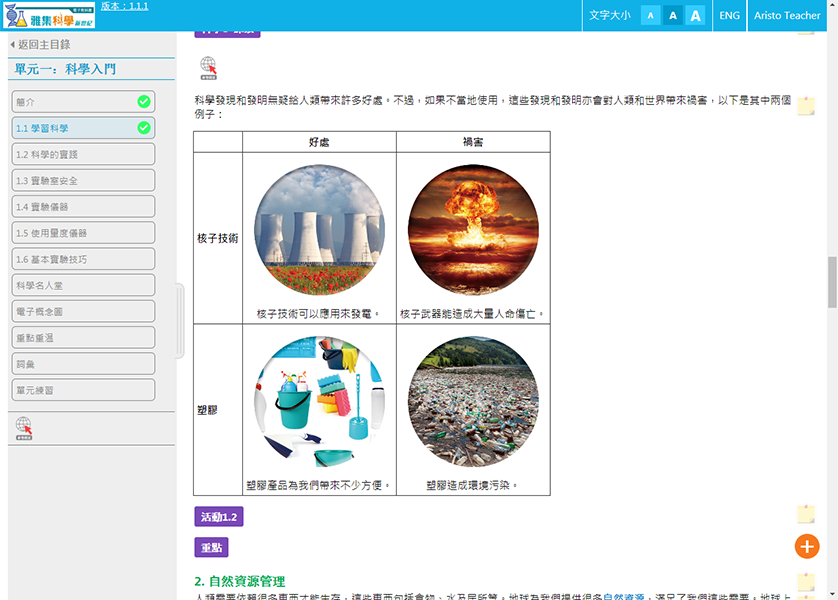
2.4
繪圖功能
Drawing function
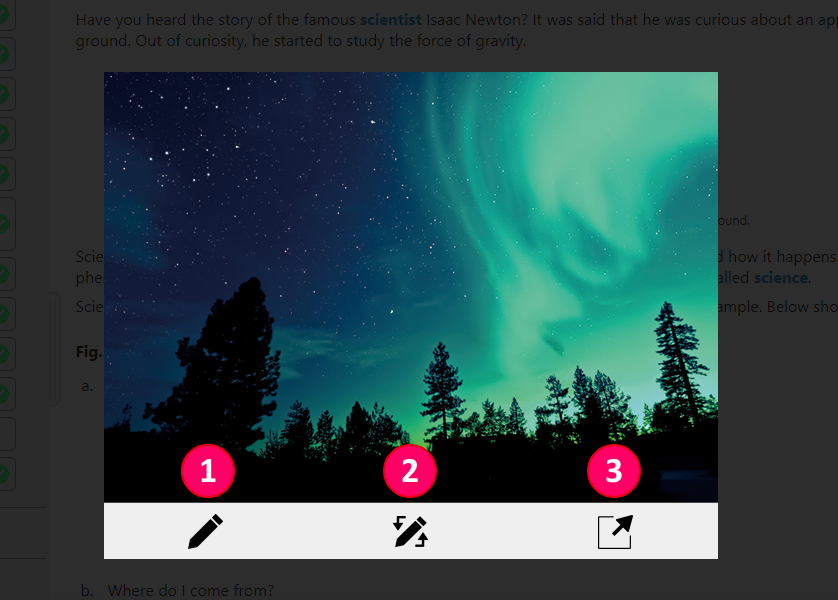
| 1 |
|
開啟繪圖工具(只顯示於及支援桌面或平板電腦) Open drawing tools (this option will only appear and work on a desktop or tablet computer) |
| 2 |
|
顯示或隱藏繪圖 Show/Hide drawings |
| 3 |
|
在新分頁開啟圖片 Open the image in a new tab |
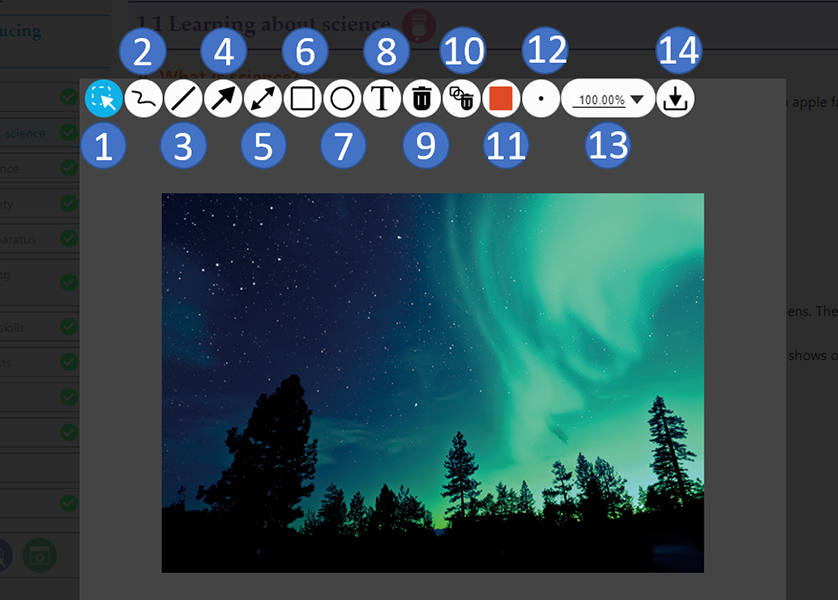
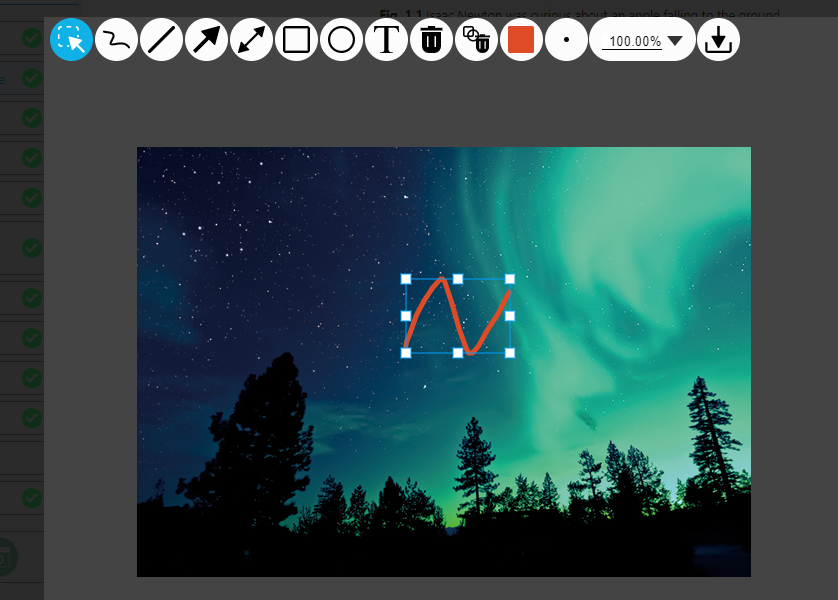
| 1 |
「選取」工具 — 切換至此模式後可選取繪圖,選取後可
‘Select’ tool - Switch to this mode to select a drawing, then
|
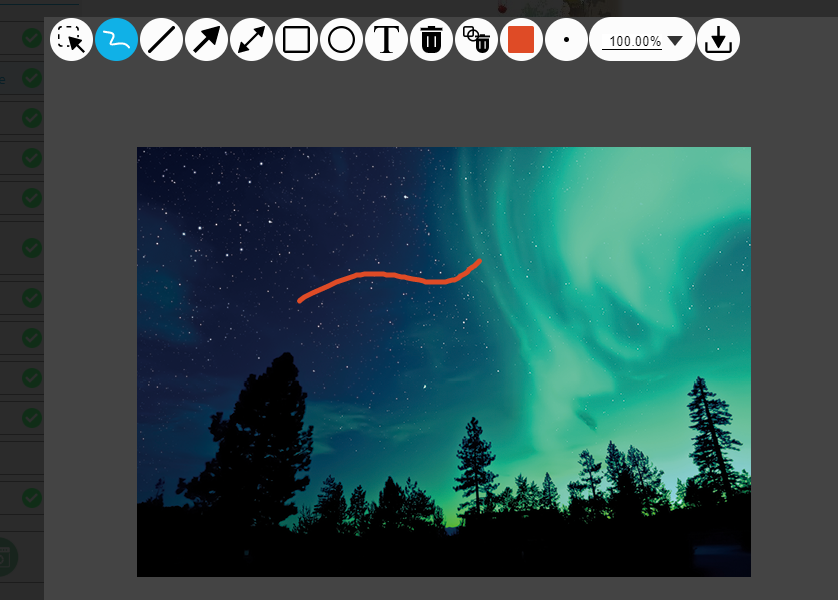
| 2 |
任意繪畫線條
Draw (free-form)
|
| 3 |
繪畫直線
Draw straight line

|
| 4 |
繪畫單箭頭
Draw single arrow
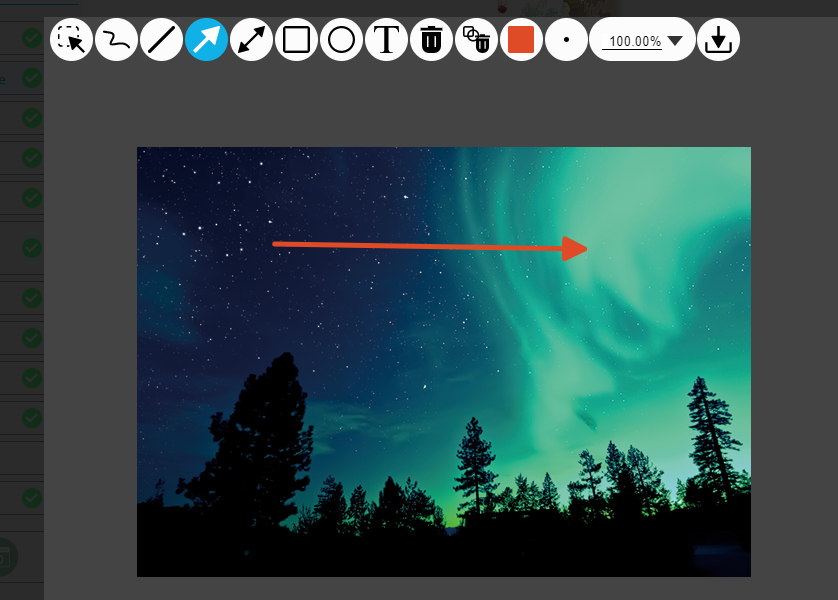
|
| 5 |
繪畫雙箭頭
Draw double arrows
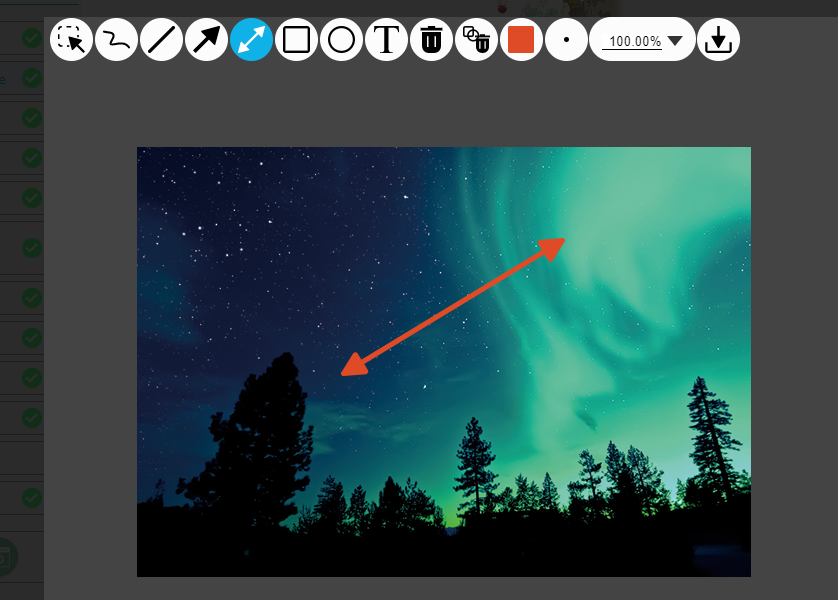
|
| 6 |
繪畫長方形
Draw rectangle
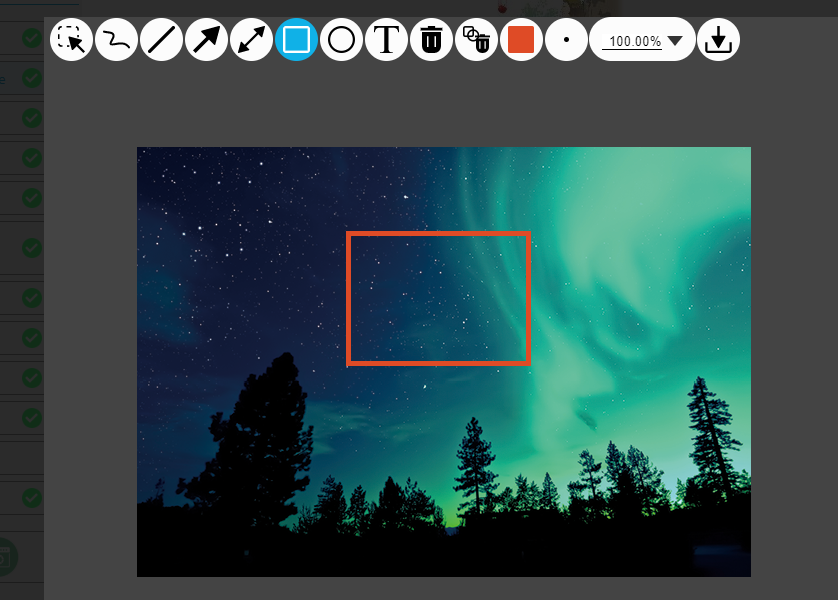
|
| 7 |
繪畫橢圓形
Draw ellipse

|
| 8 |
加入文字︰
Add text:

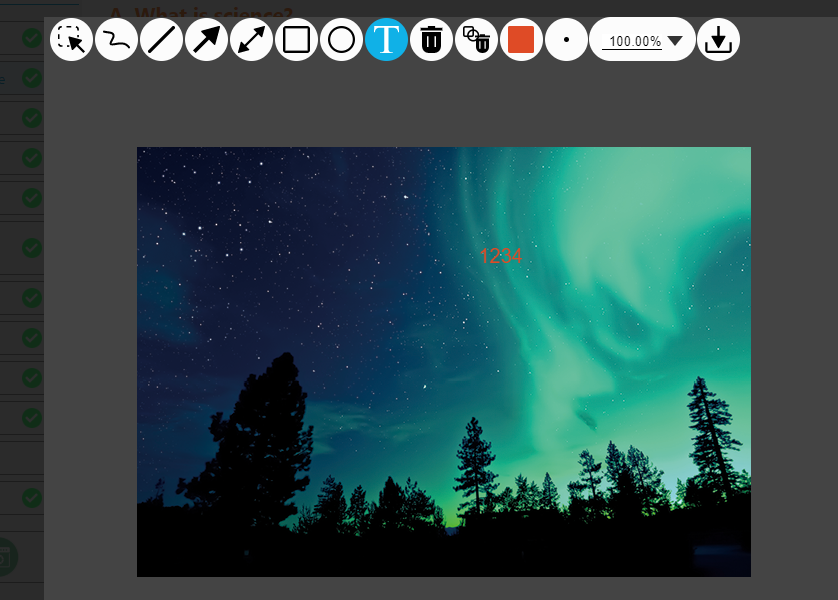
|
| 9 |
使用「選取」工具選取繪圖後,按此可刪除繪圖
Use ‘Select’ tool to select a drawing, then click this button to delete it.
|
| 10 |
刪除全部繪圖
Clear all drawings
|
| 11 |
選擇線條或文字的顏色
Select a colour for the line or text

|
| 12 |
更改線條寬度
Change line thickness

|
| 13 |
圖像縮放
Zoom in/out the image

|
| 14 |
儲存繪圖
Save drawings
|
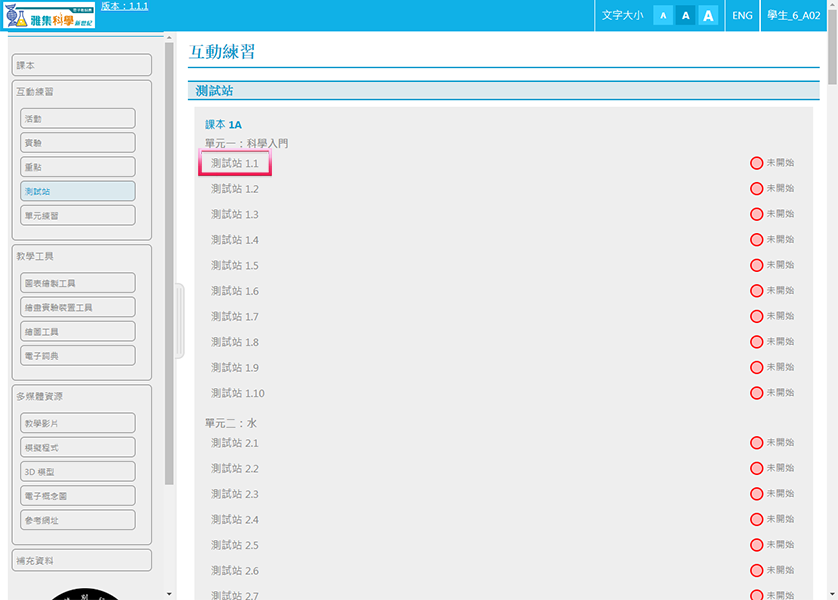
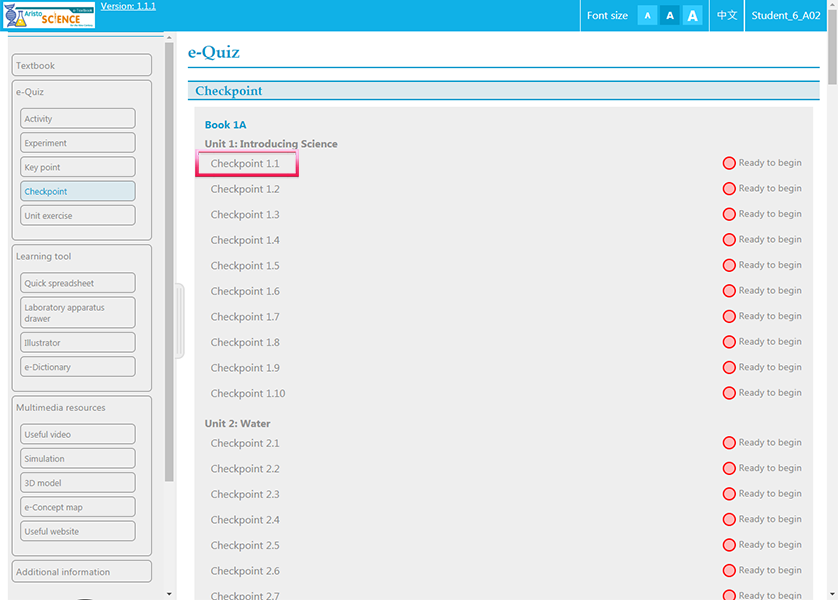
3.1
點選互動練習
Select an e-Quiz exercise
3.2
互動練習選單
e-Quiz menu
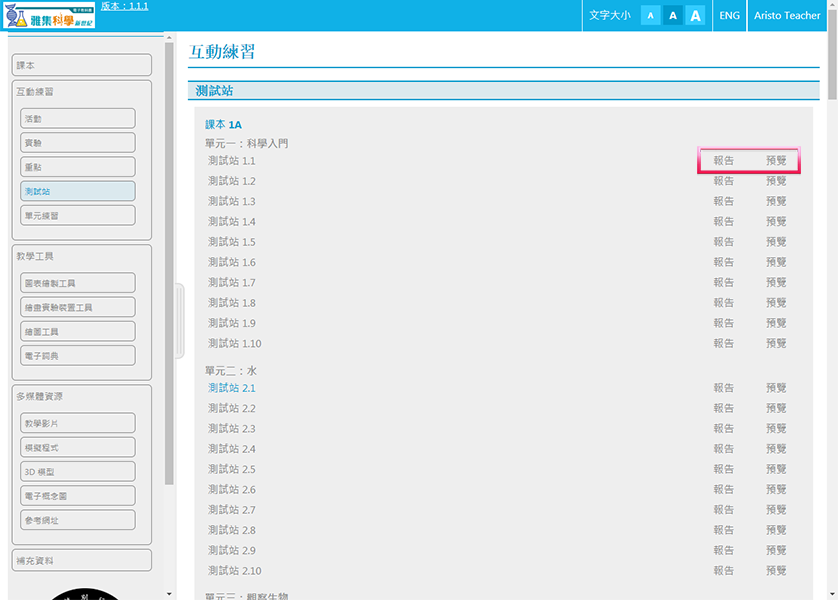
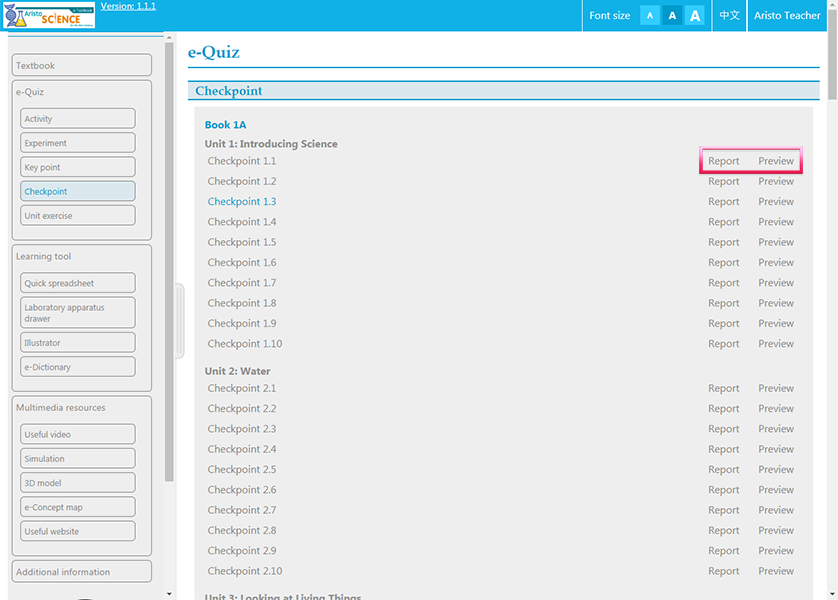
預覽 - 預覽學生的作答界面 Preview - Preview the student’s answering page
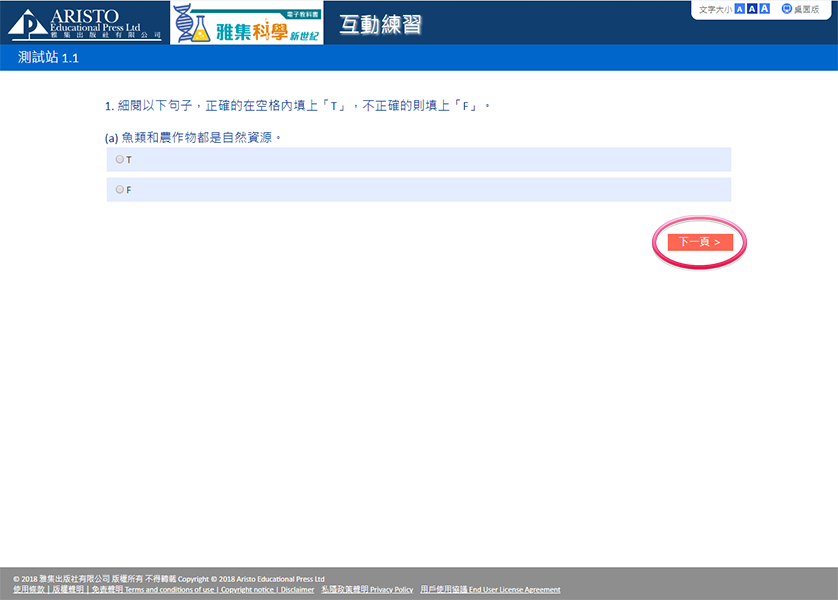
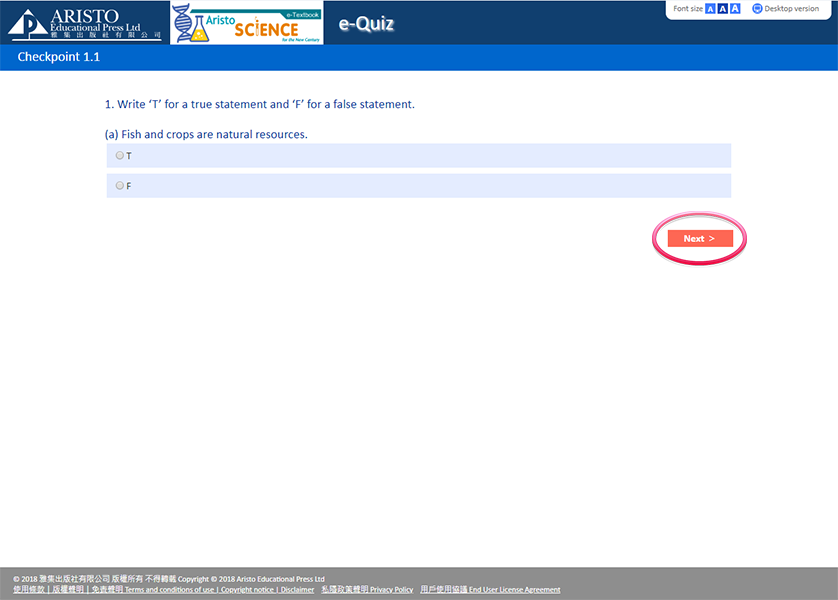
3.3
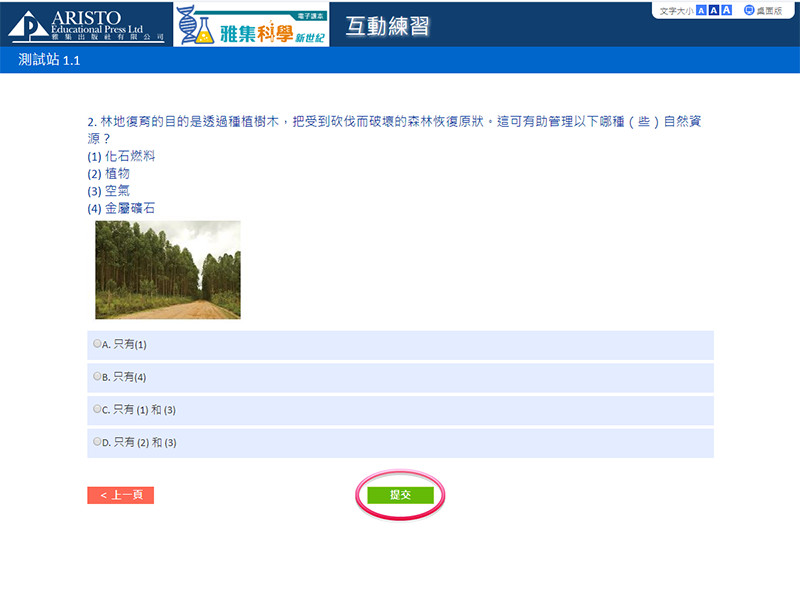
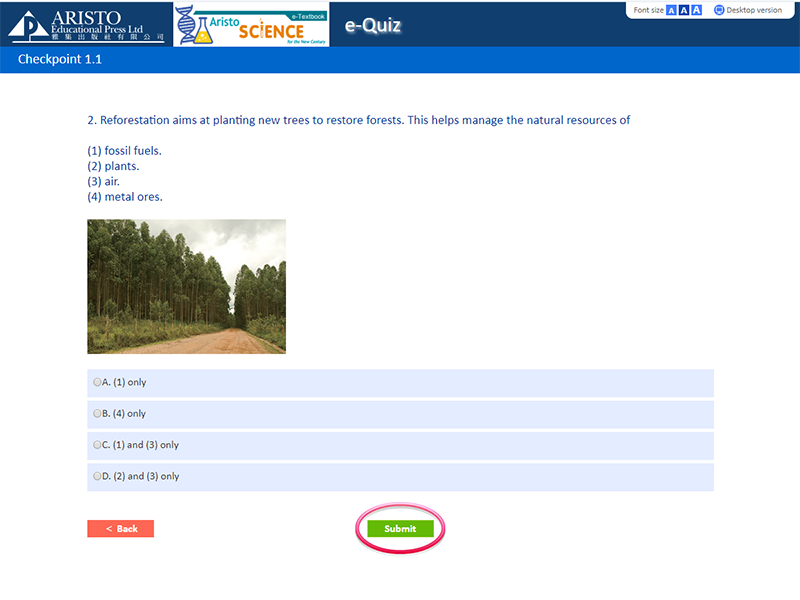
學生作答界面
Student’s answering page
3.4
成績報告(教師版)
Performance report (Teacher’s version)

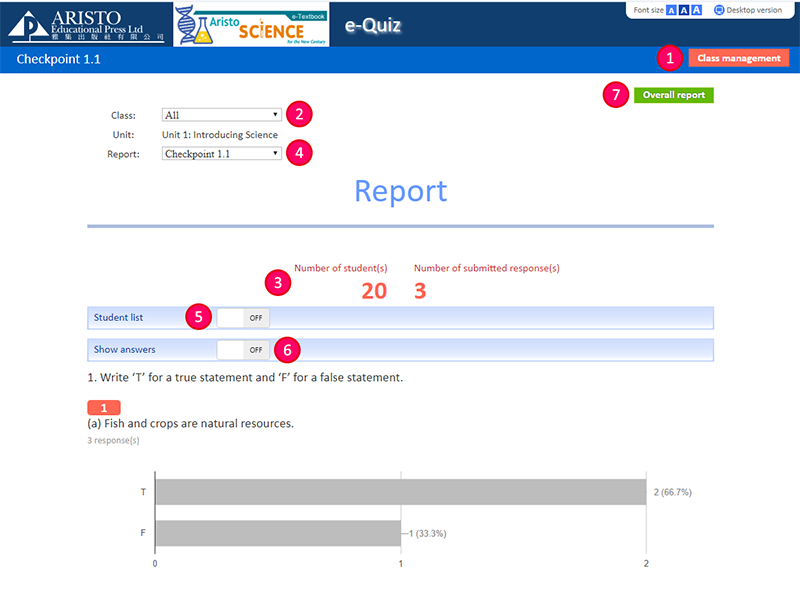
| 1 | 可按此開啟班別管理頁面,將校內學生移到任教的班別,以便查閱成績(內頁附有使用指引) Click here to open Class management page, where teacher can move the students into various classes for report generation. (User guide provided in the Class management page) |
| 2 | 如已在班別管理頁面製作班別,可在此選擇 If teacher has created a class from Class management page, the class can be found from here |
| 3 | 依班別顯示成績報告 Show the results by selecting a class |
| 4 | 按此可選擇查看所選單元內不同練習的成績報告 Switch between different performance reports from the selected unit here |
| 5 | 按此顯示每一位學生的成績和回應 Click here to show the results and responses of each student |
| 6 | 按此顯示答案 Click here to show answers |
| 7 | 按「整體報告」按鈕可下載整體報告的 Excel 檔案 Click the “Overall report” button to download an Excel file of the overall report |
4.1
- 請確定用戶有足夠權限在電腦內儲存檔案,並確保電腦硬碟內有足夠空間。 Please ensure the users have been granted with the appropriate access right to save files in the devices. There should be enough storage in the devices too.
- 即時不能建立離線資料庫,用戶也可透過儲存筆記到雅集雲端硬碟(詳情請參閱 步驟 2.3),確保下次開啟時可顯示已儲筆記。 Even the offline database cannot be built, users can save the notes on Aristo Cloud (please check Step 2.3 for details) to ensure they can read the notes if they open the page again.
5.1
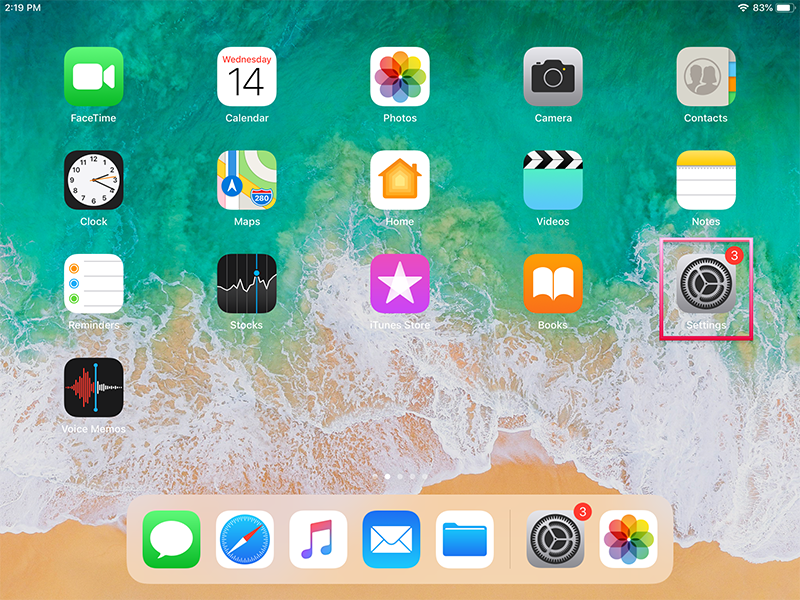
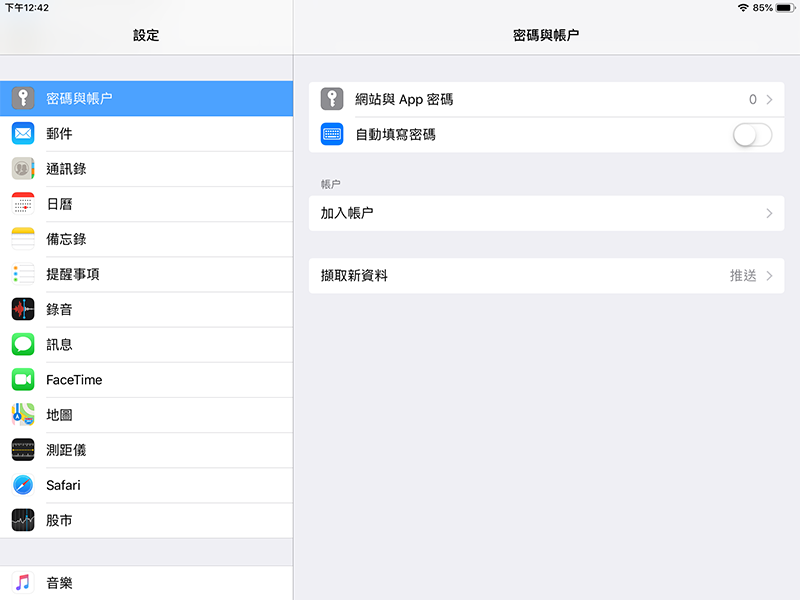
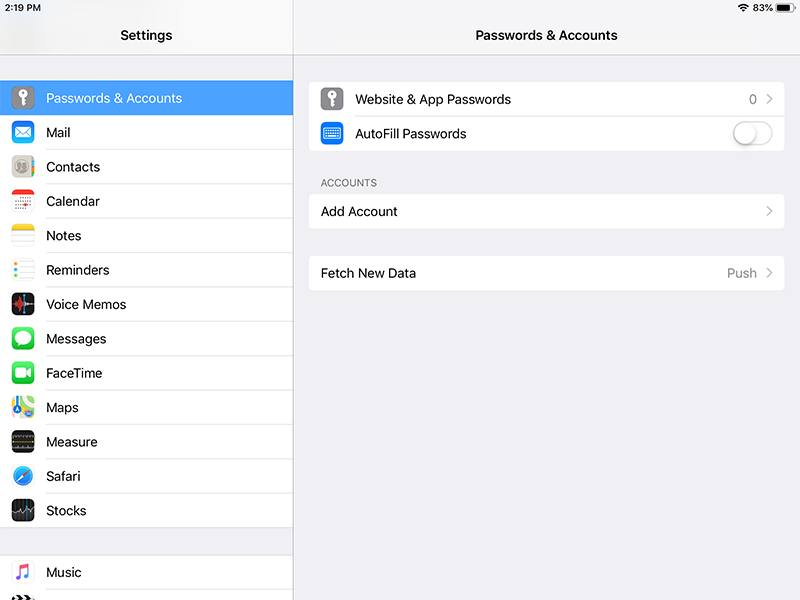
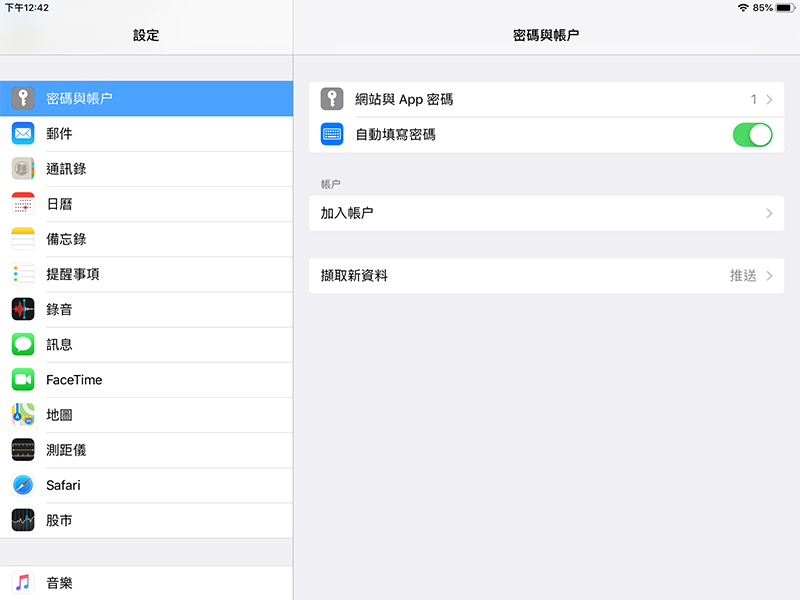
啟動自動填寫密碼功能 Enable AutoFill Passwords


5.2
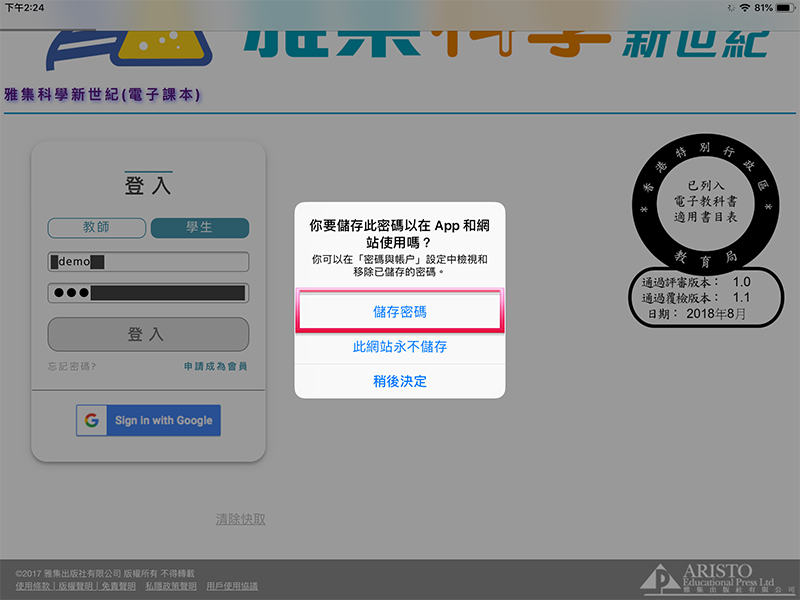
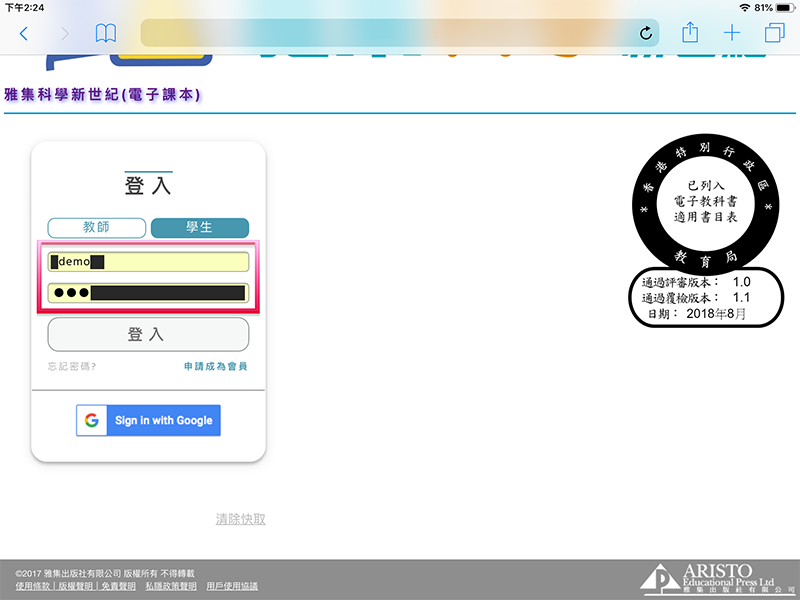
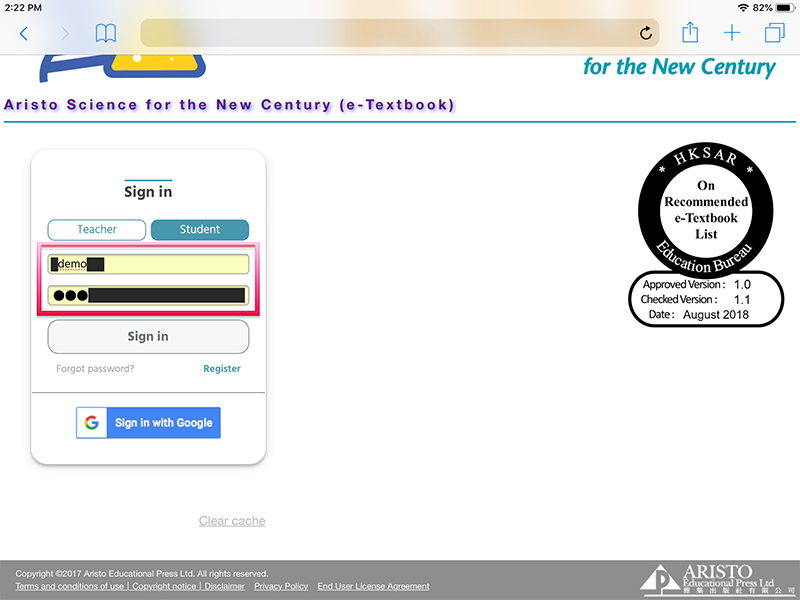
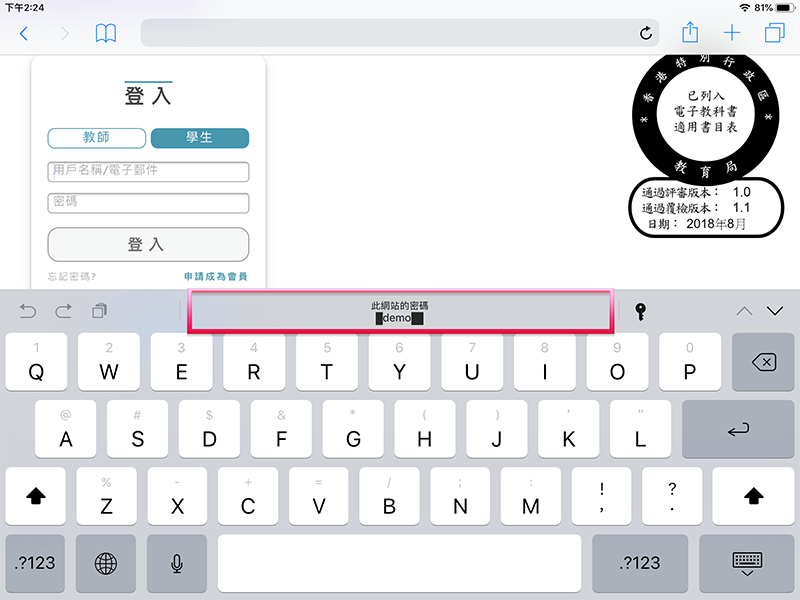
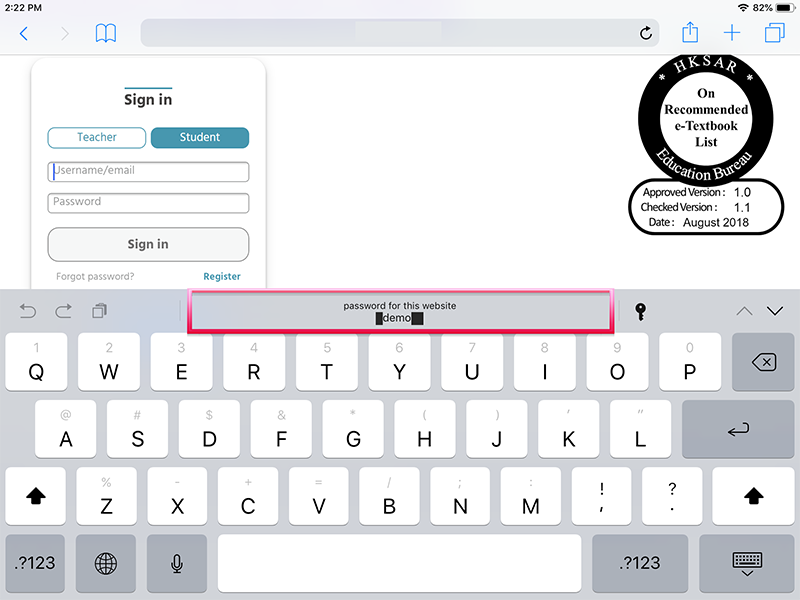
儲存登入資料 Storing sign-in information
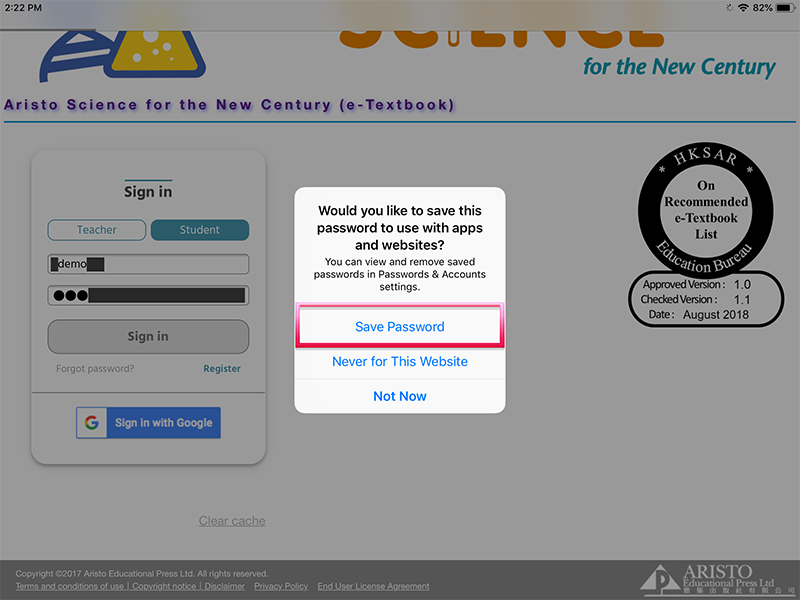
If the username and password have not been filled in automatically, you can select your saved account from the system interface as shown below after clicking the fields. You do not need to enter your sign-in information every time.
5.3
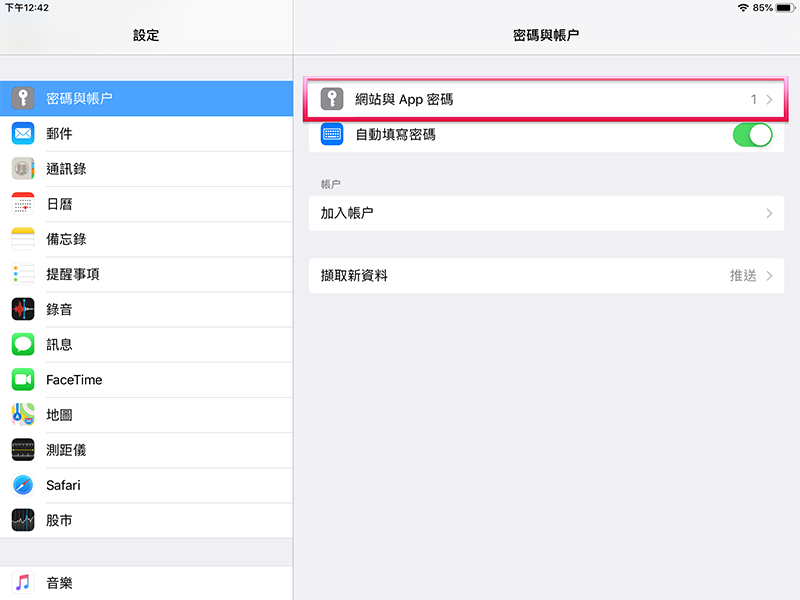
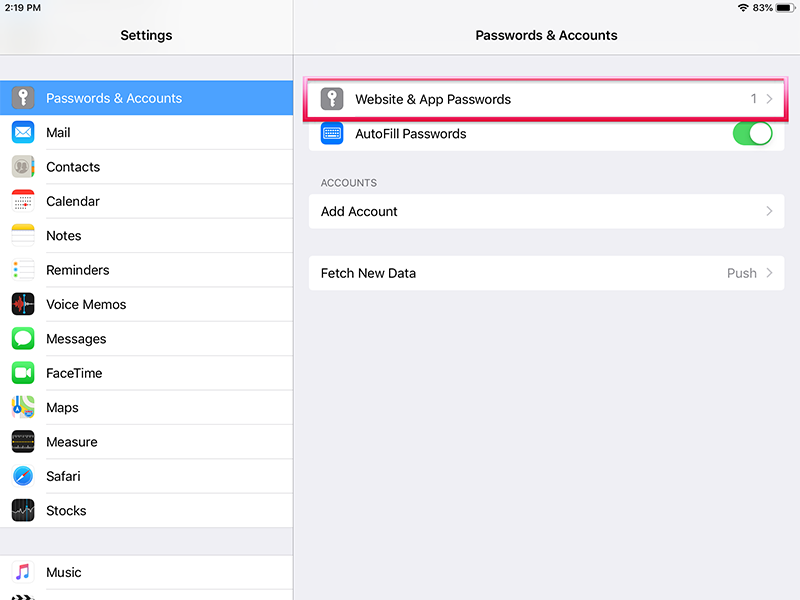
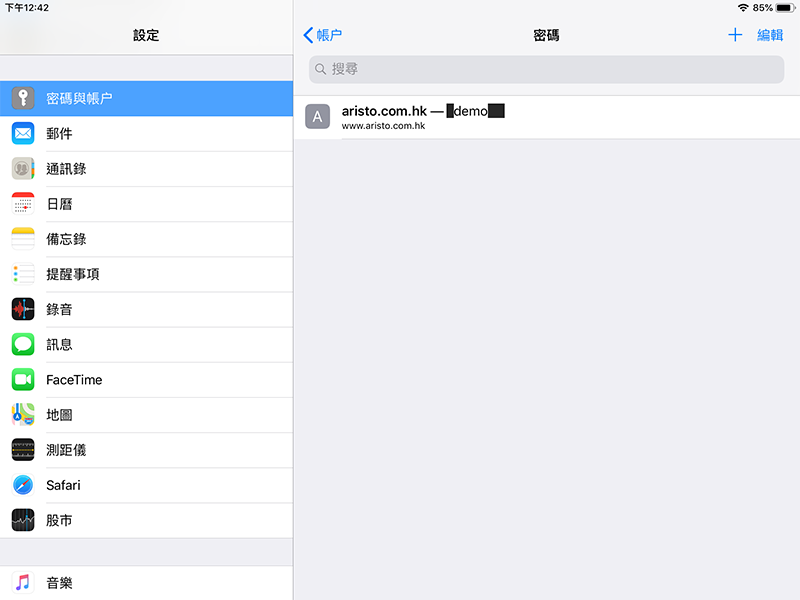
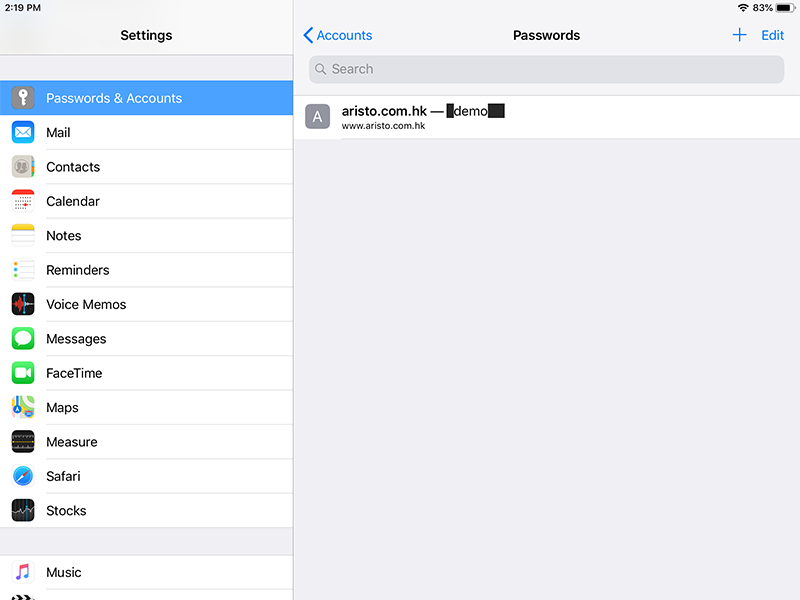
管理已儲存的密碼 Managing stored passwords

5.4
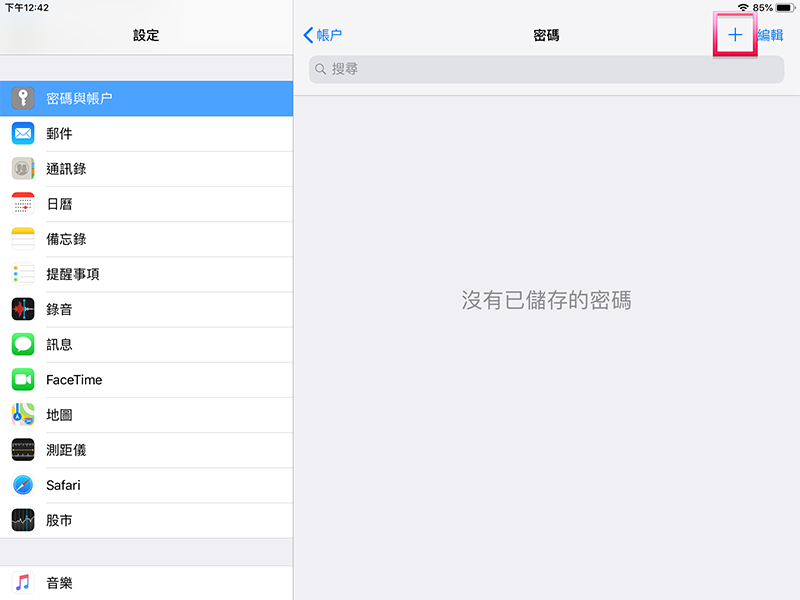
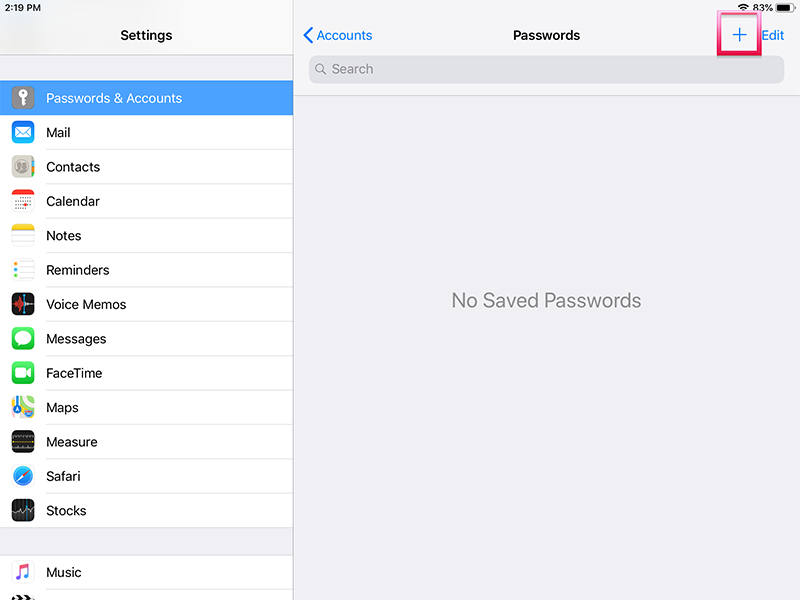
如我選擇了「此網站永不儲存」,如何重設自動填寫密碼功能? How to enable AutoFill Passwords again if I have chosen “Never for This Website”?
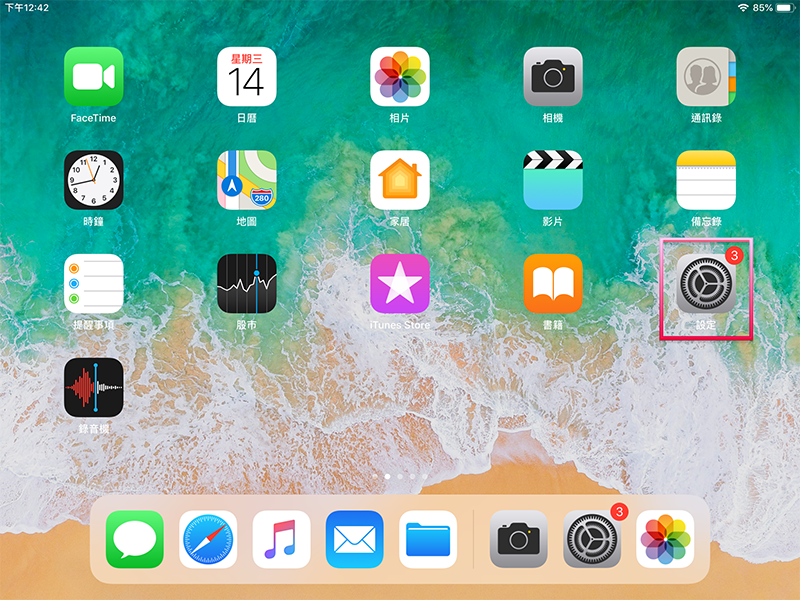
- 開啟 設定 > 密碼與帳户 > 網站與 App 密碼,點擊右上方「+」。 Go to Settings > Passwords & Accounts > Website & App Passwords, click “+” at the top-left corner.
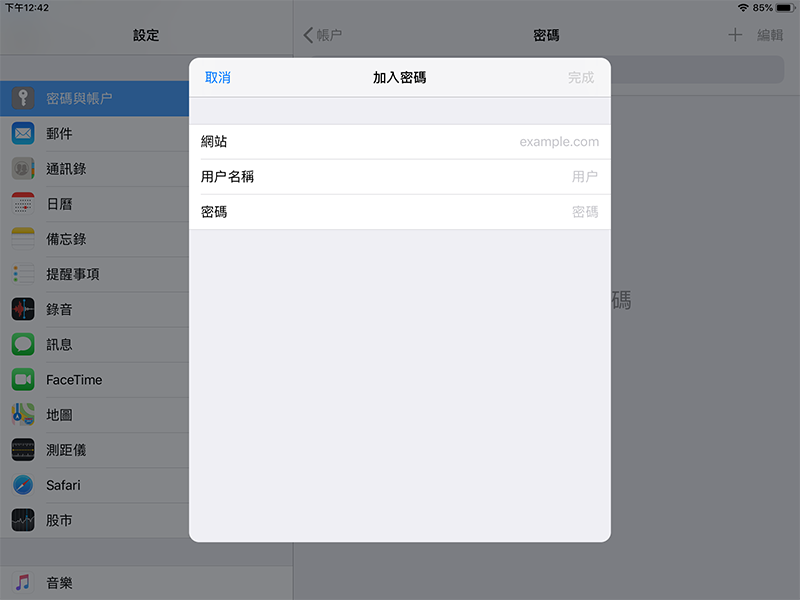
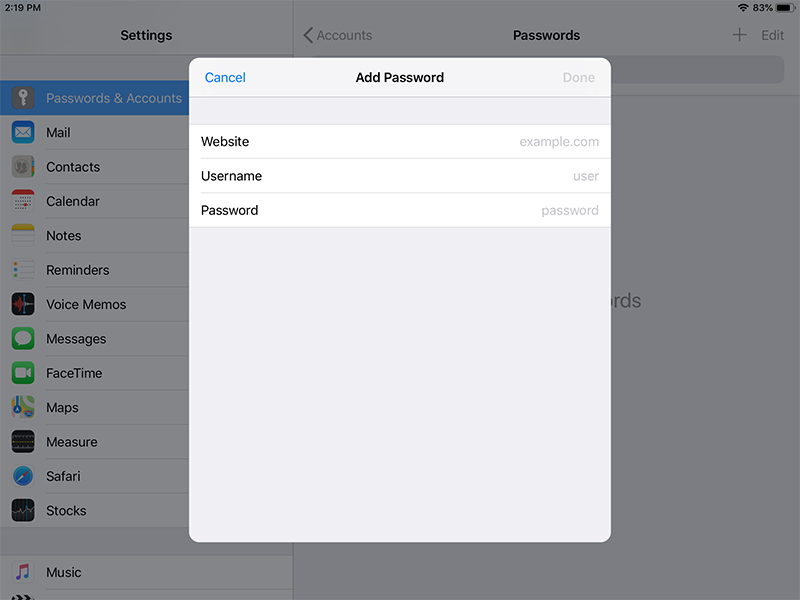
-
輸入以下登入資料:
網站:aristo.com.hk
用戶名稱/密碼:(你的電子課本帳戶) Enter the following sign-in information:
Website: aristo.com.hk
Username/Password: (your e-Textbook account)